At DETL, we specialize in crafting stellar software applications that seamlessly blend hardcore engineering with sleek design. Our mission is to deliver both mobile and web applications that provide exceptional user experience without compromising on aesthetics or functionality. In this bog post, we will guide you through how to implement notifications in your expo React-Native application.
DETL has been working on an AI application for a client called Psyvatar AI which is due to be released in the next upcoming weeks from today’s writing (October 11, 2024).
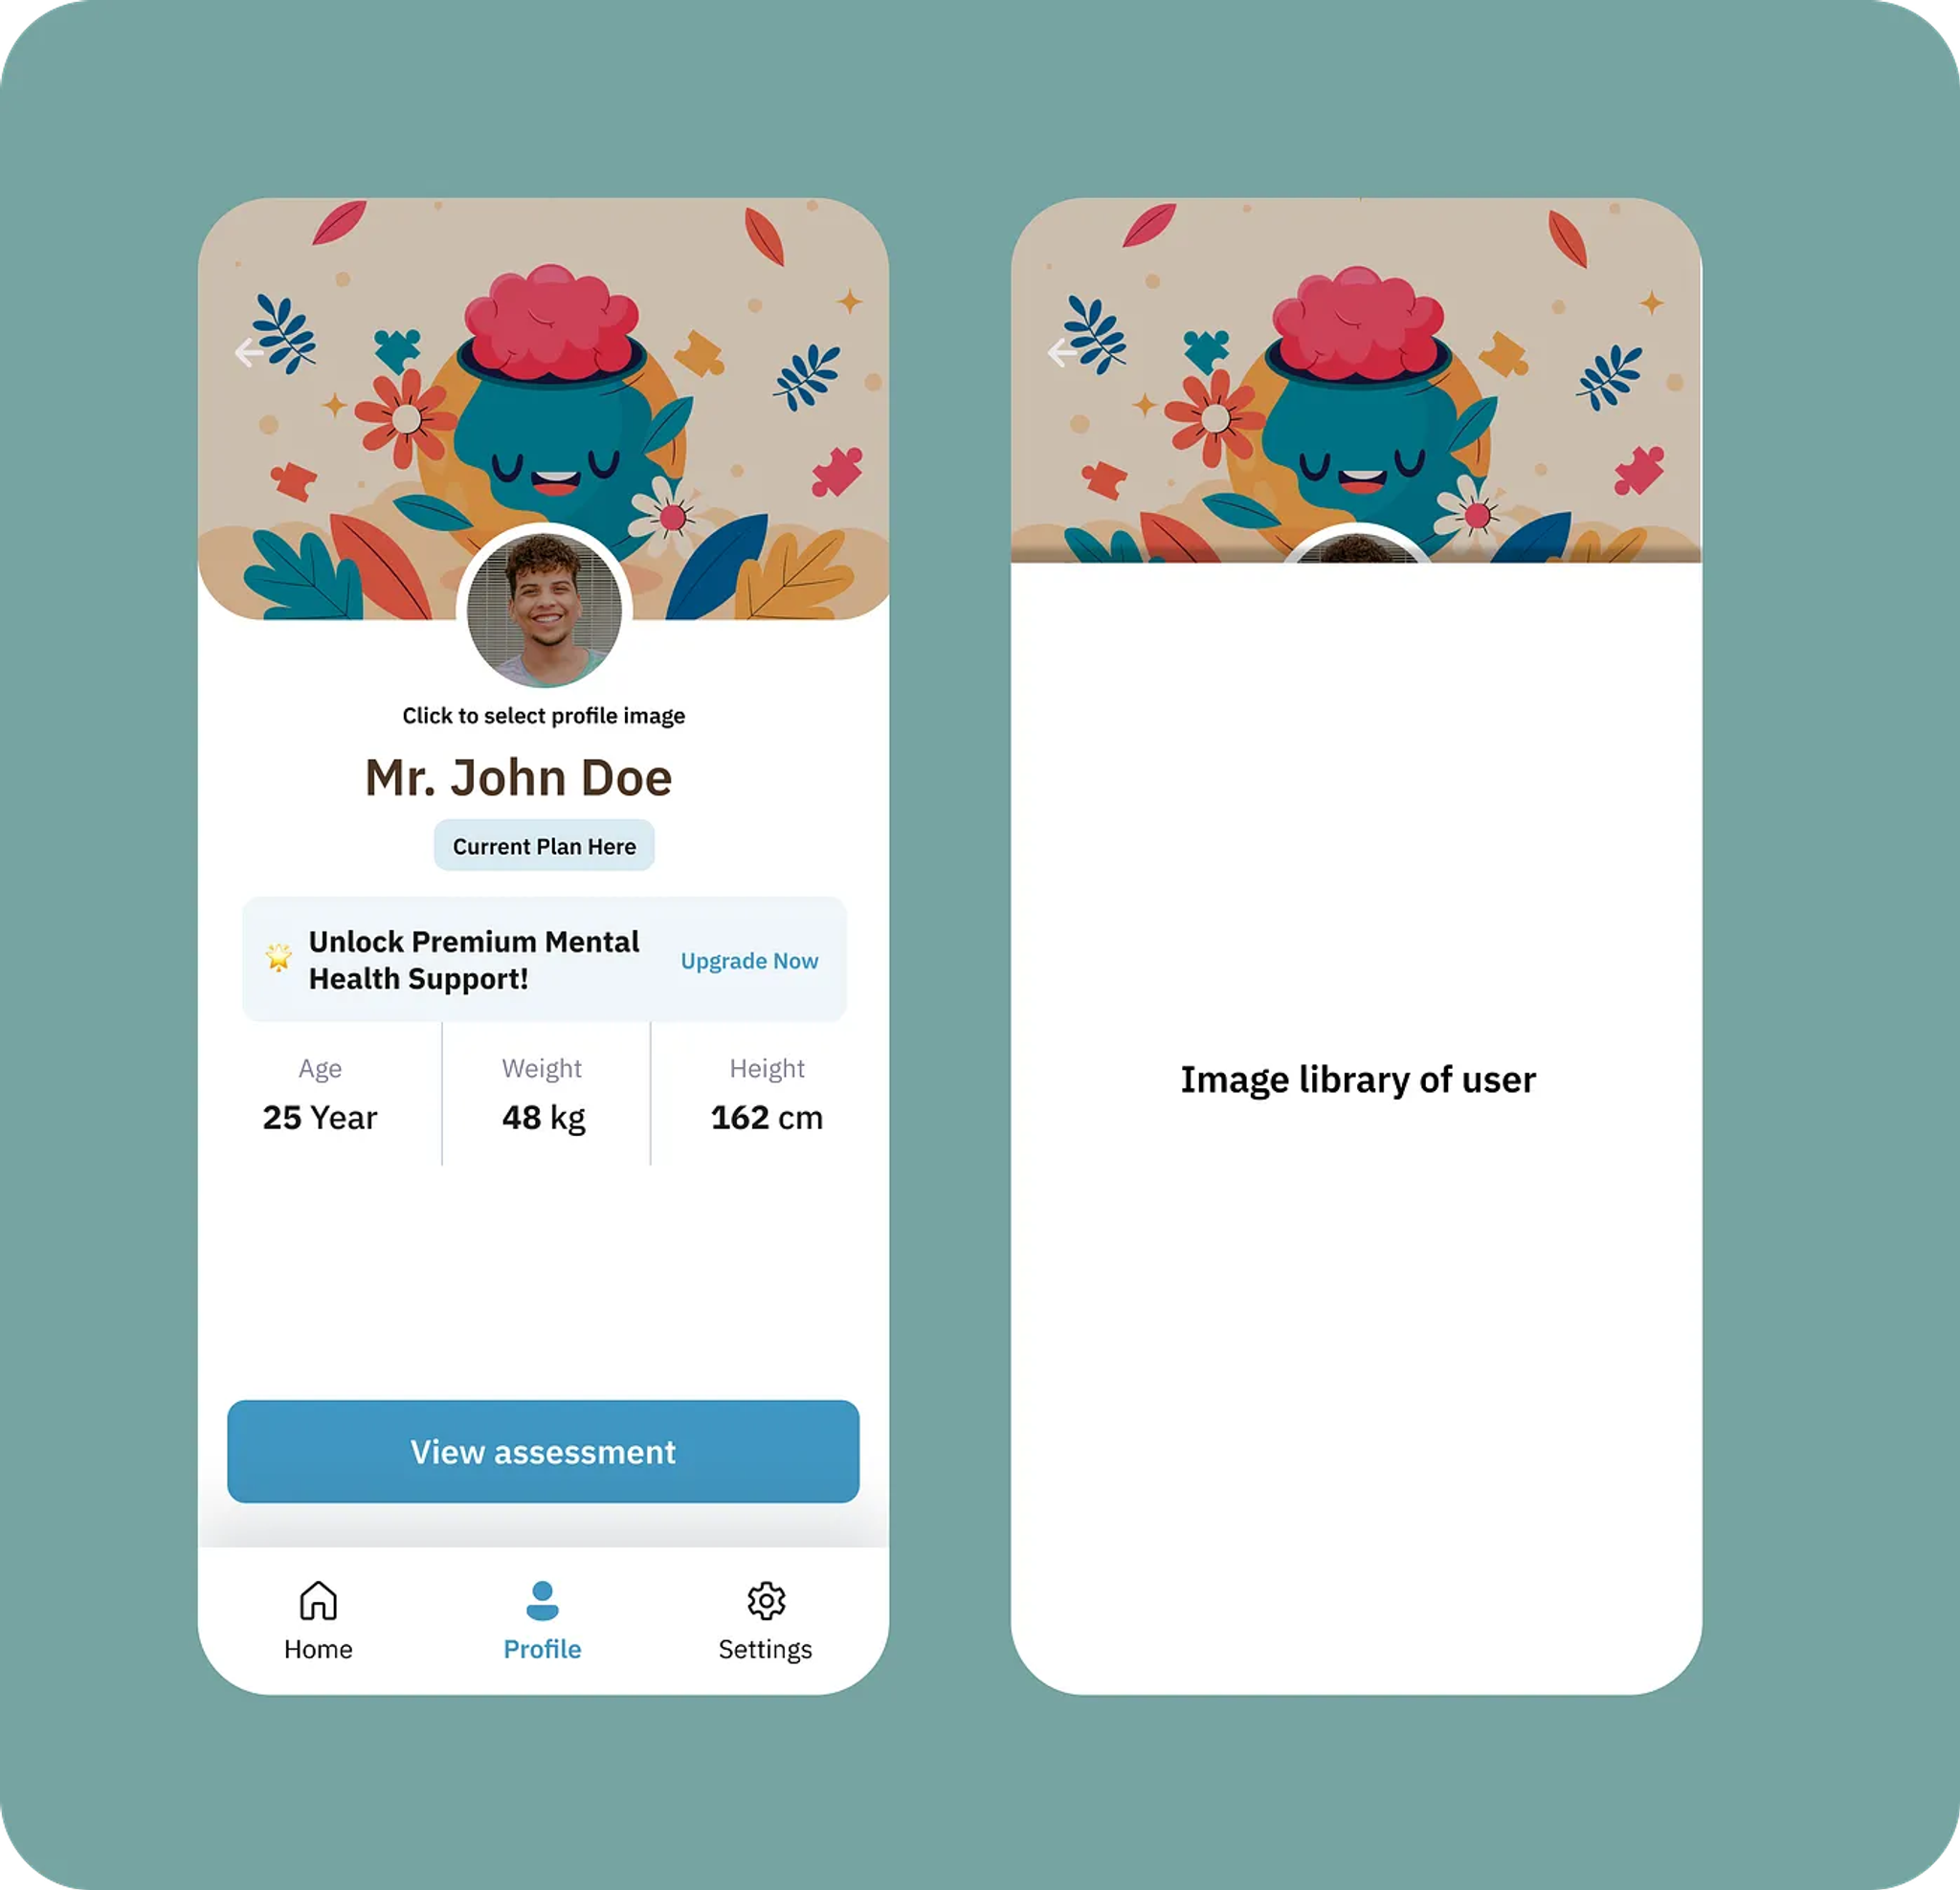
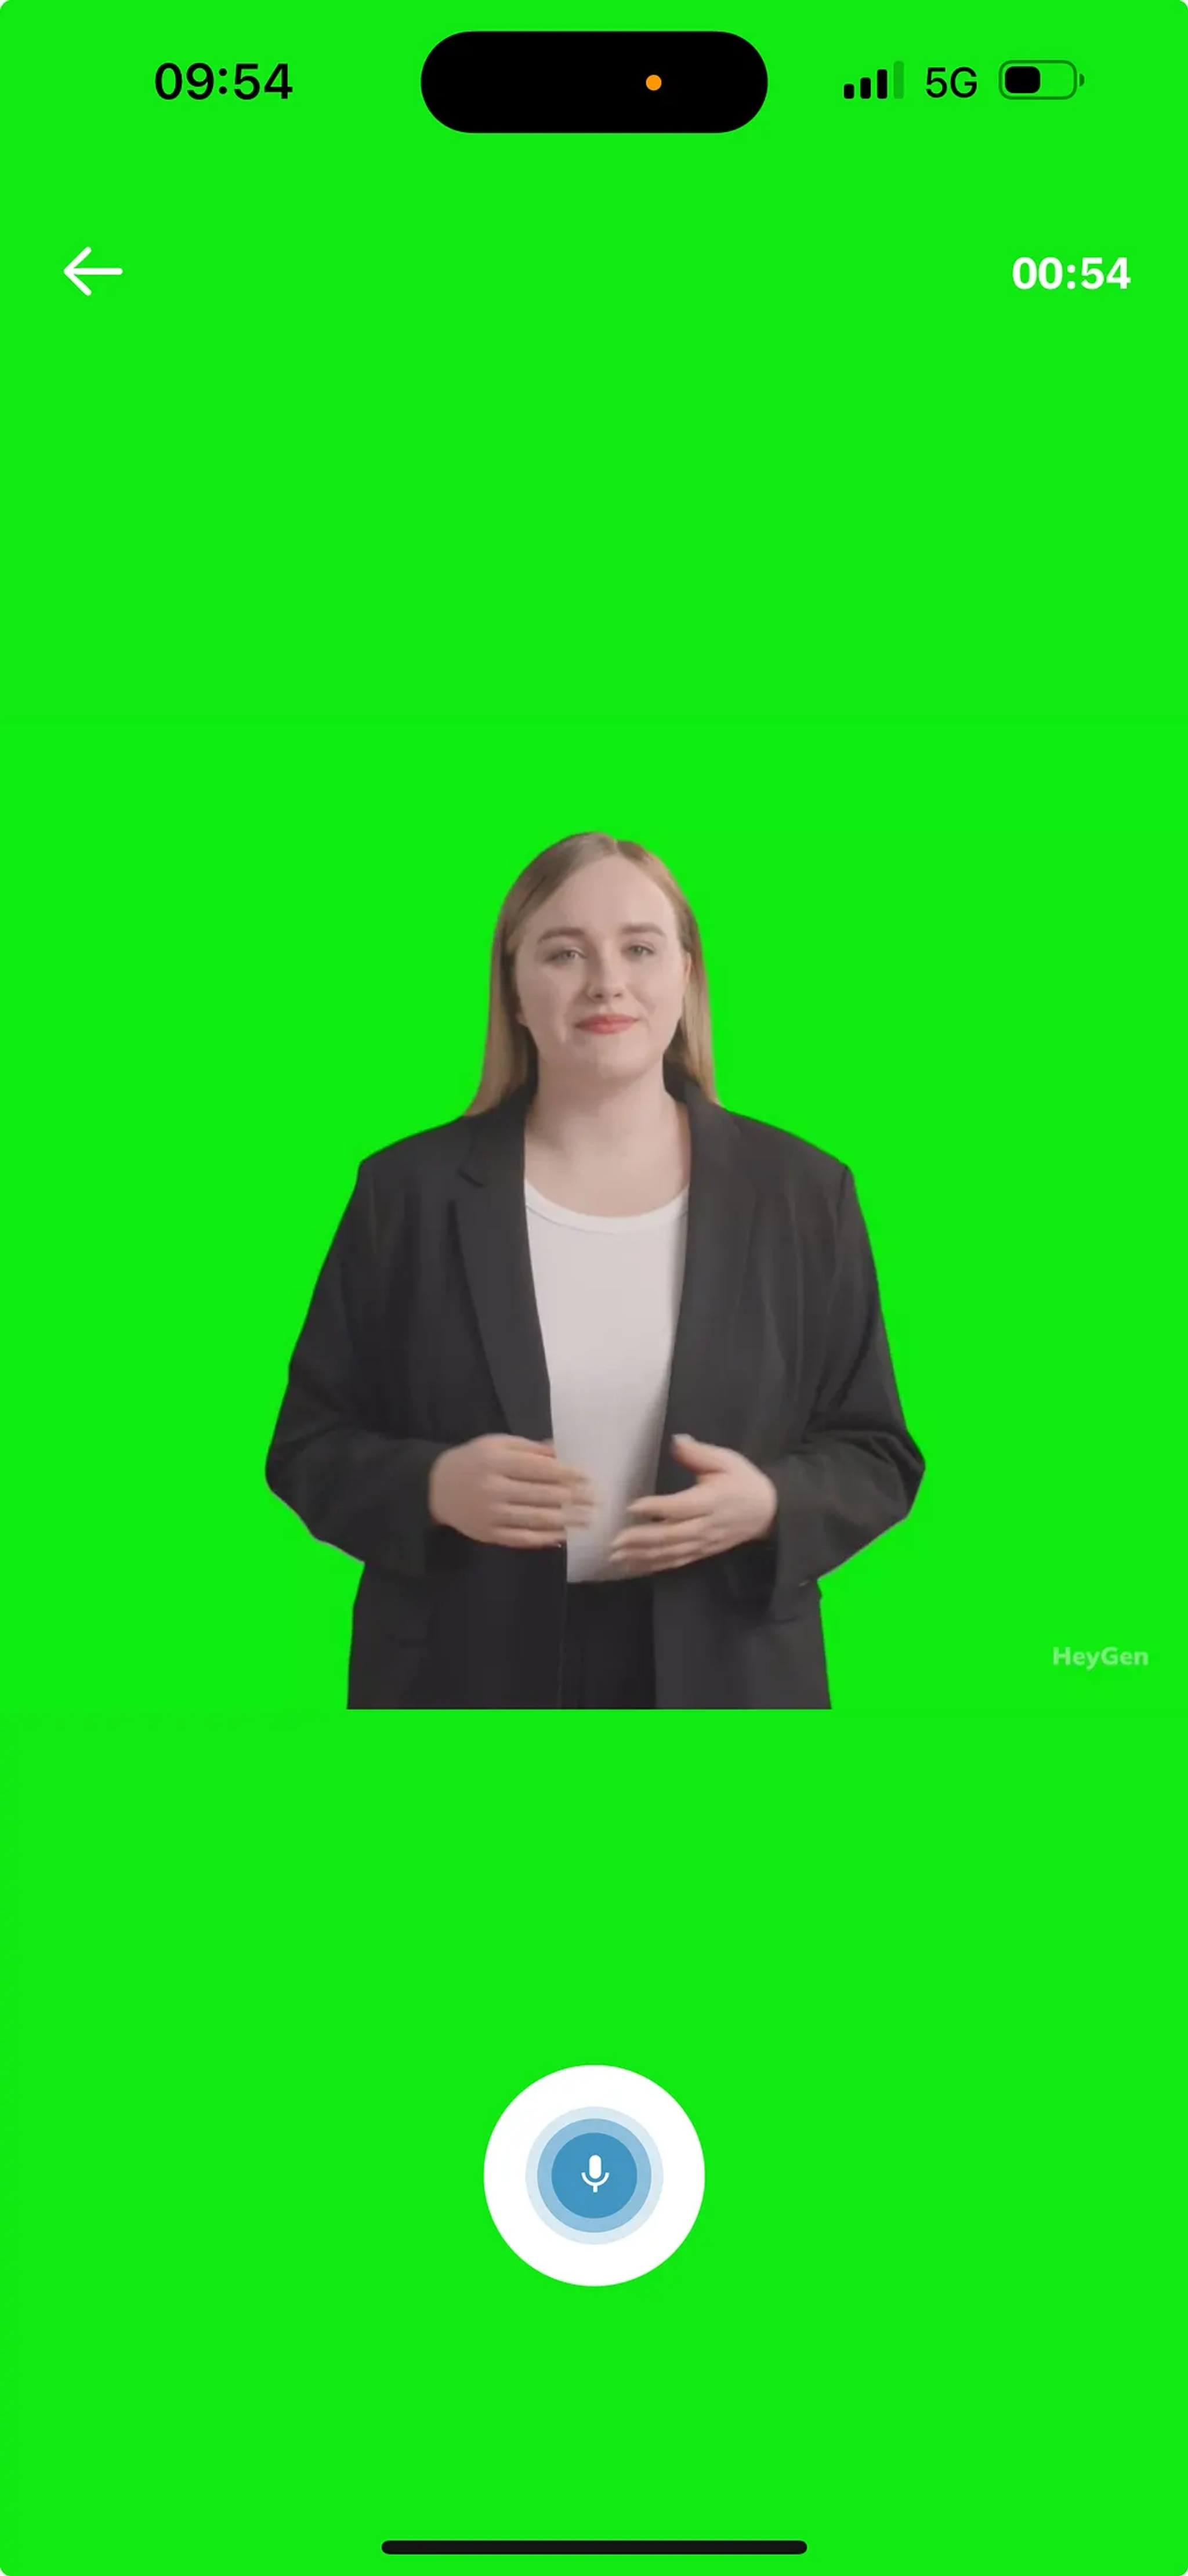
The purpose of the app is for users to have therapy sessions with AI therapist. I know what you are thinking, another AI application. I have personally used this during testing mode and it blew me away in terms of its interaction. We take you through a comprehensive onboarding journey to understand who you are as a person and where you currently are in life and feed this information into our AI system.
It is important to note that the AI doesn’t know who you are as a person as we do not feed it any sensitive personal information in it like your name and email address which are the only two things we ask you as far as personal information. This means that you are anonymous to the AI and the onboarding questions are just so that the AI has context in terms of your journey.
Zoom image will be displayed
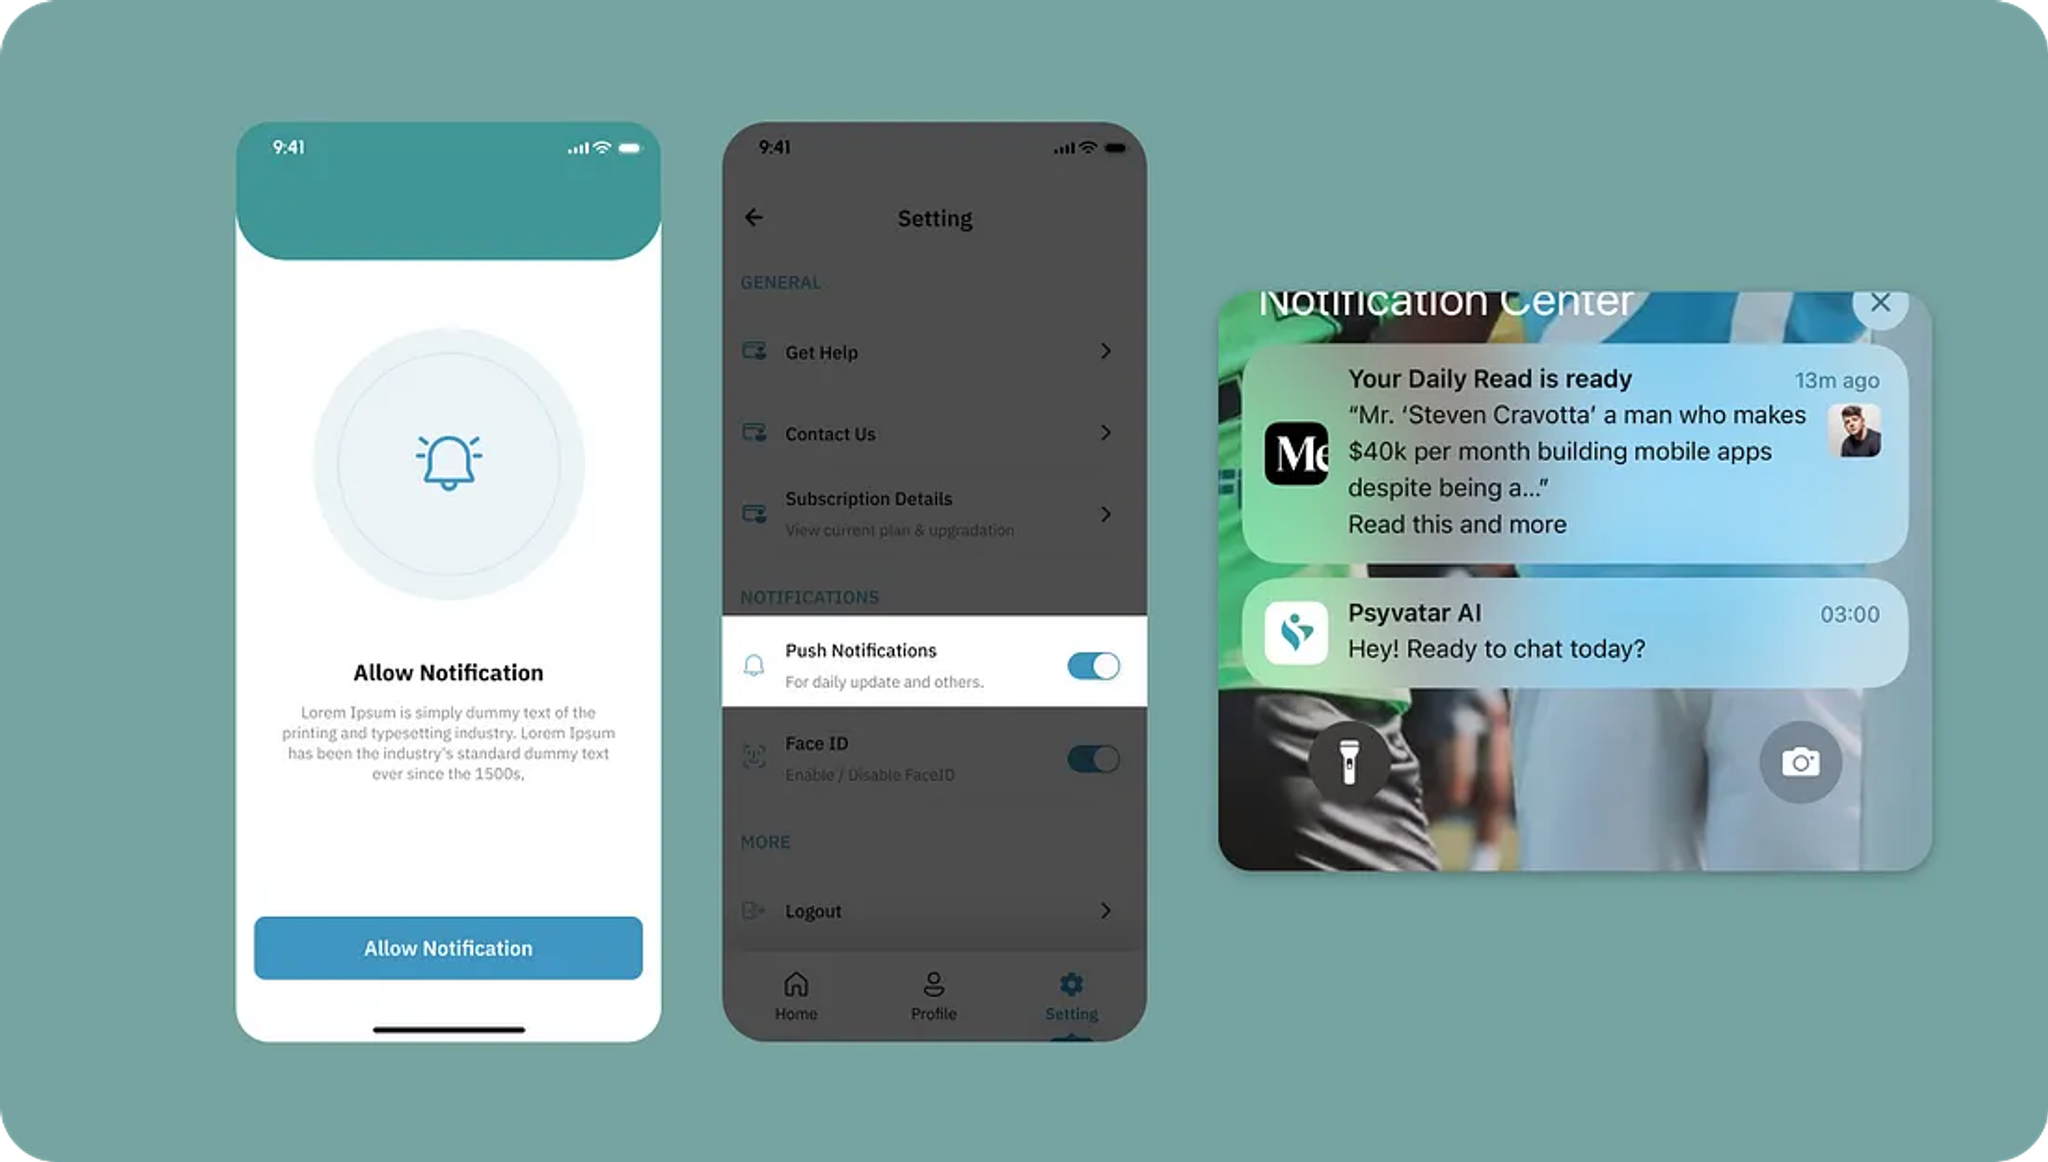
However, the purpose of this blog post it to teach you how to implement a notification system in order to notify your users. In Psyvatar AI, we notify the user to remind them to log in and start a session with their therapist.
Outline of the implementation
The notification implementation will have three functions. Before implementing these three functions we need to install the following package npx expo install expo-push-notifications expo-device expo-constants .
The following functions will be implemented:
- Enable notifications
- Disable notifications
- Check if notifications are enabled
These functions work together to provide a seamless user experience for managing notifications .The first two allow a user to enable and disable their notifications. The system intelligently handles initial permission requests, however subsequent times, the user will be able to enable their notifications seamlessly. The last function will be placed in a useEffect hook to check whether their notifications is enabled or disabled. This will allow us to set the toggle on/off based on the return of the last function.
Detailed Implementation
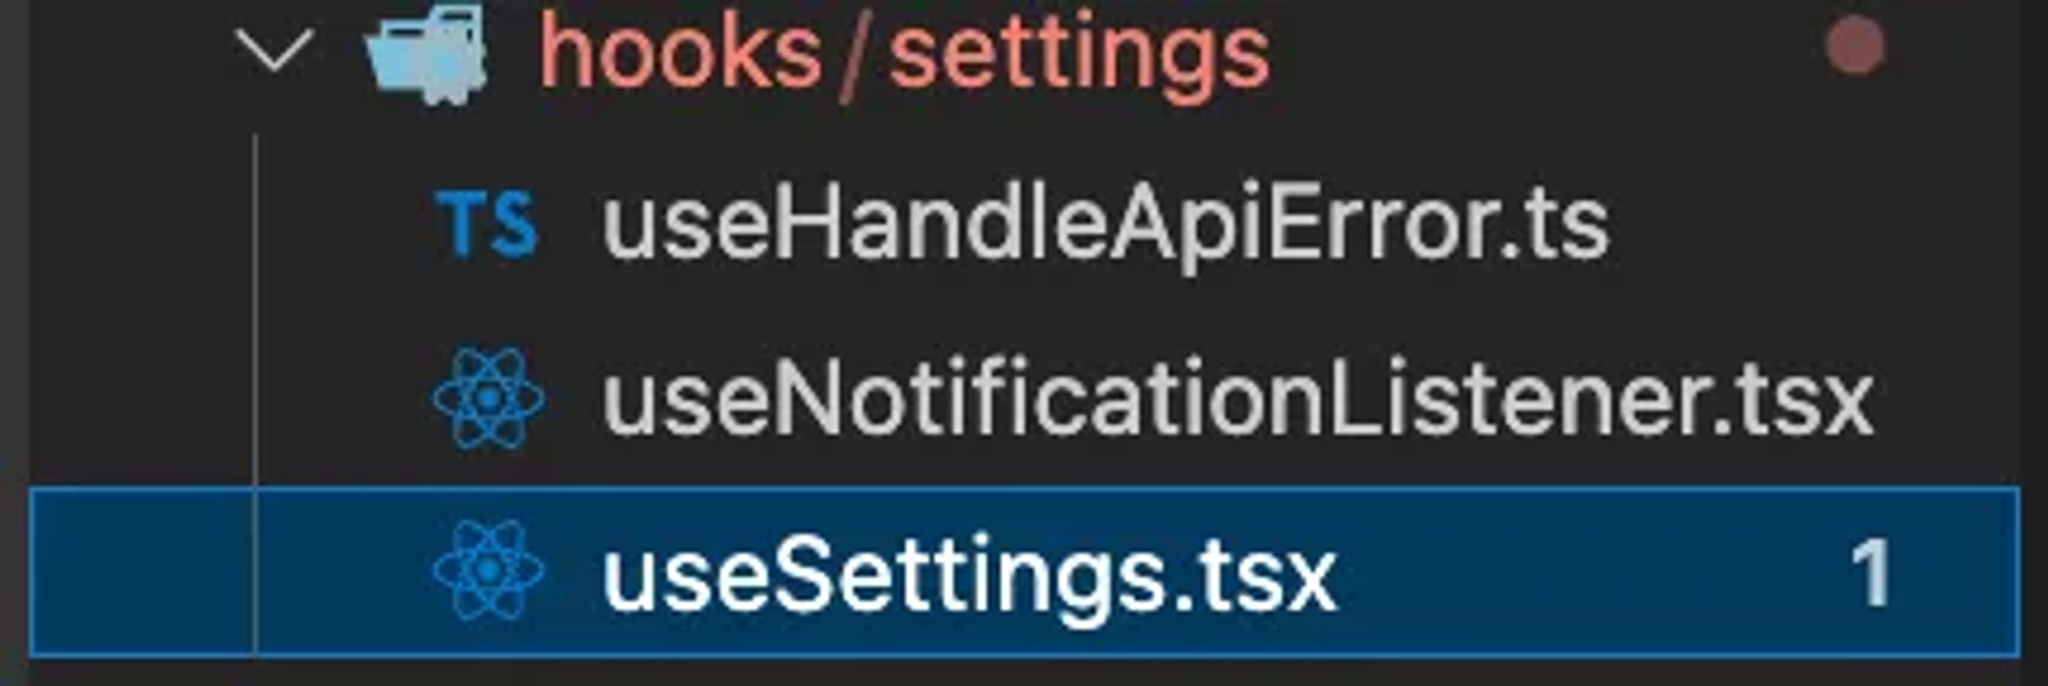
In your parent folder, create a hooks folder and within the hooks folder create a settings folder. Create a file within your settings folder called useSettings.tsx. This is where we will place the notification code and will be able to export it and use it where ever we want.
useSettings.tsx code
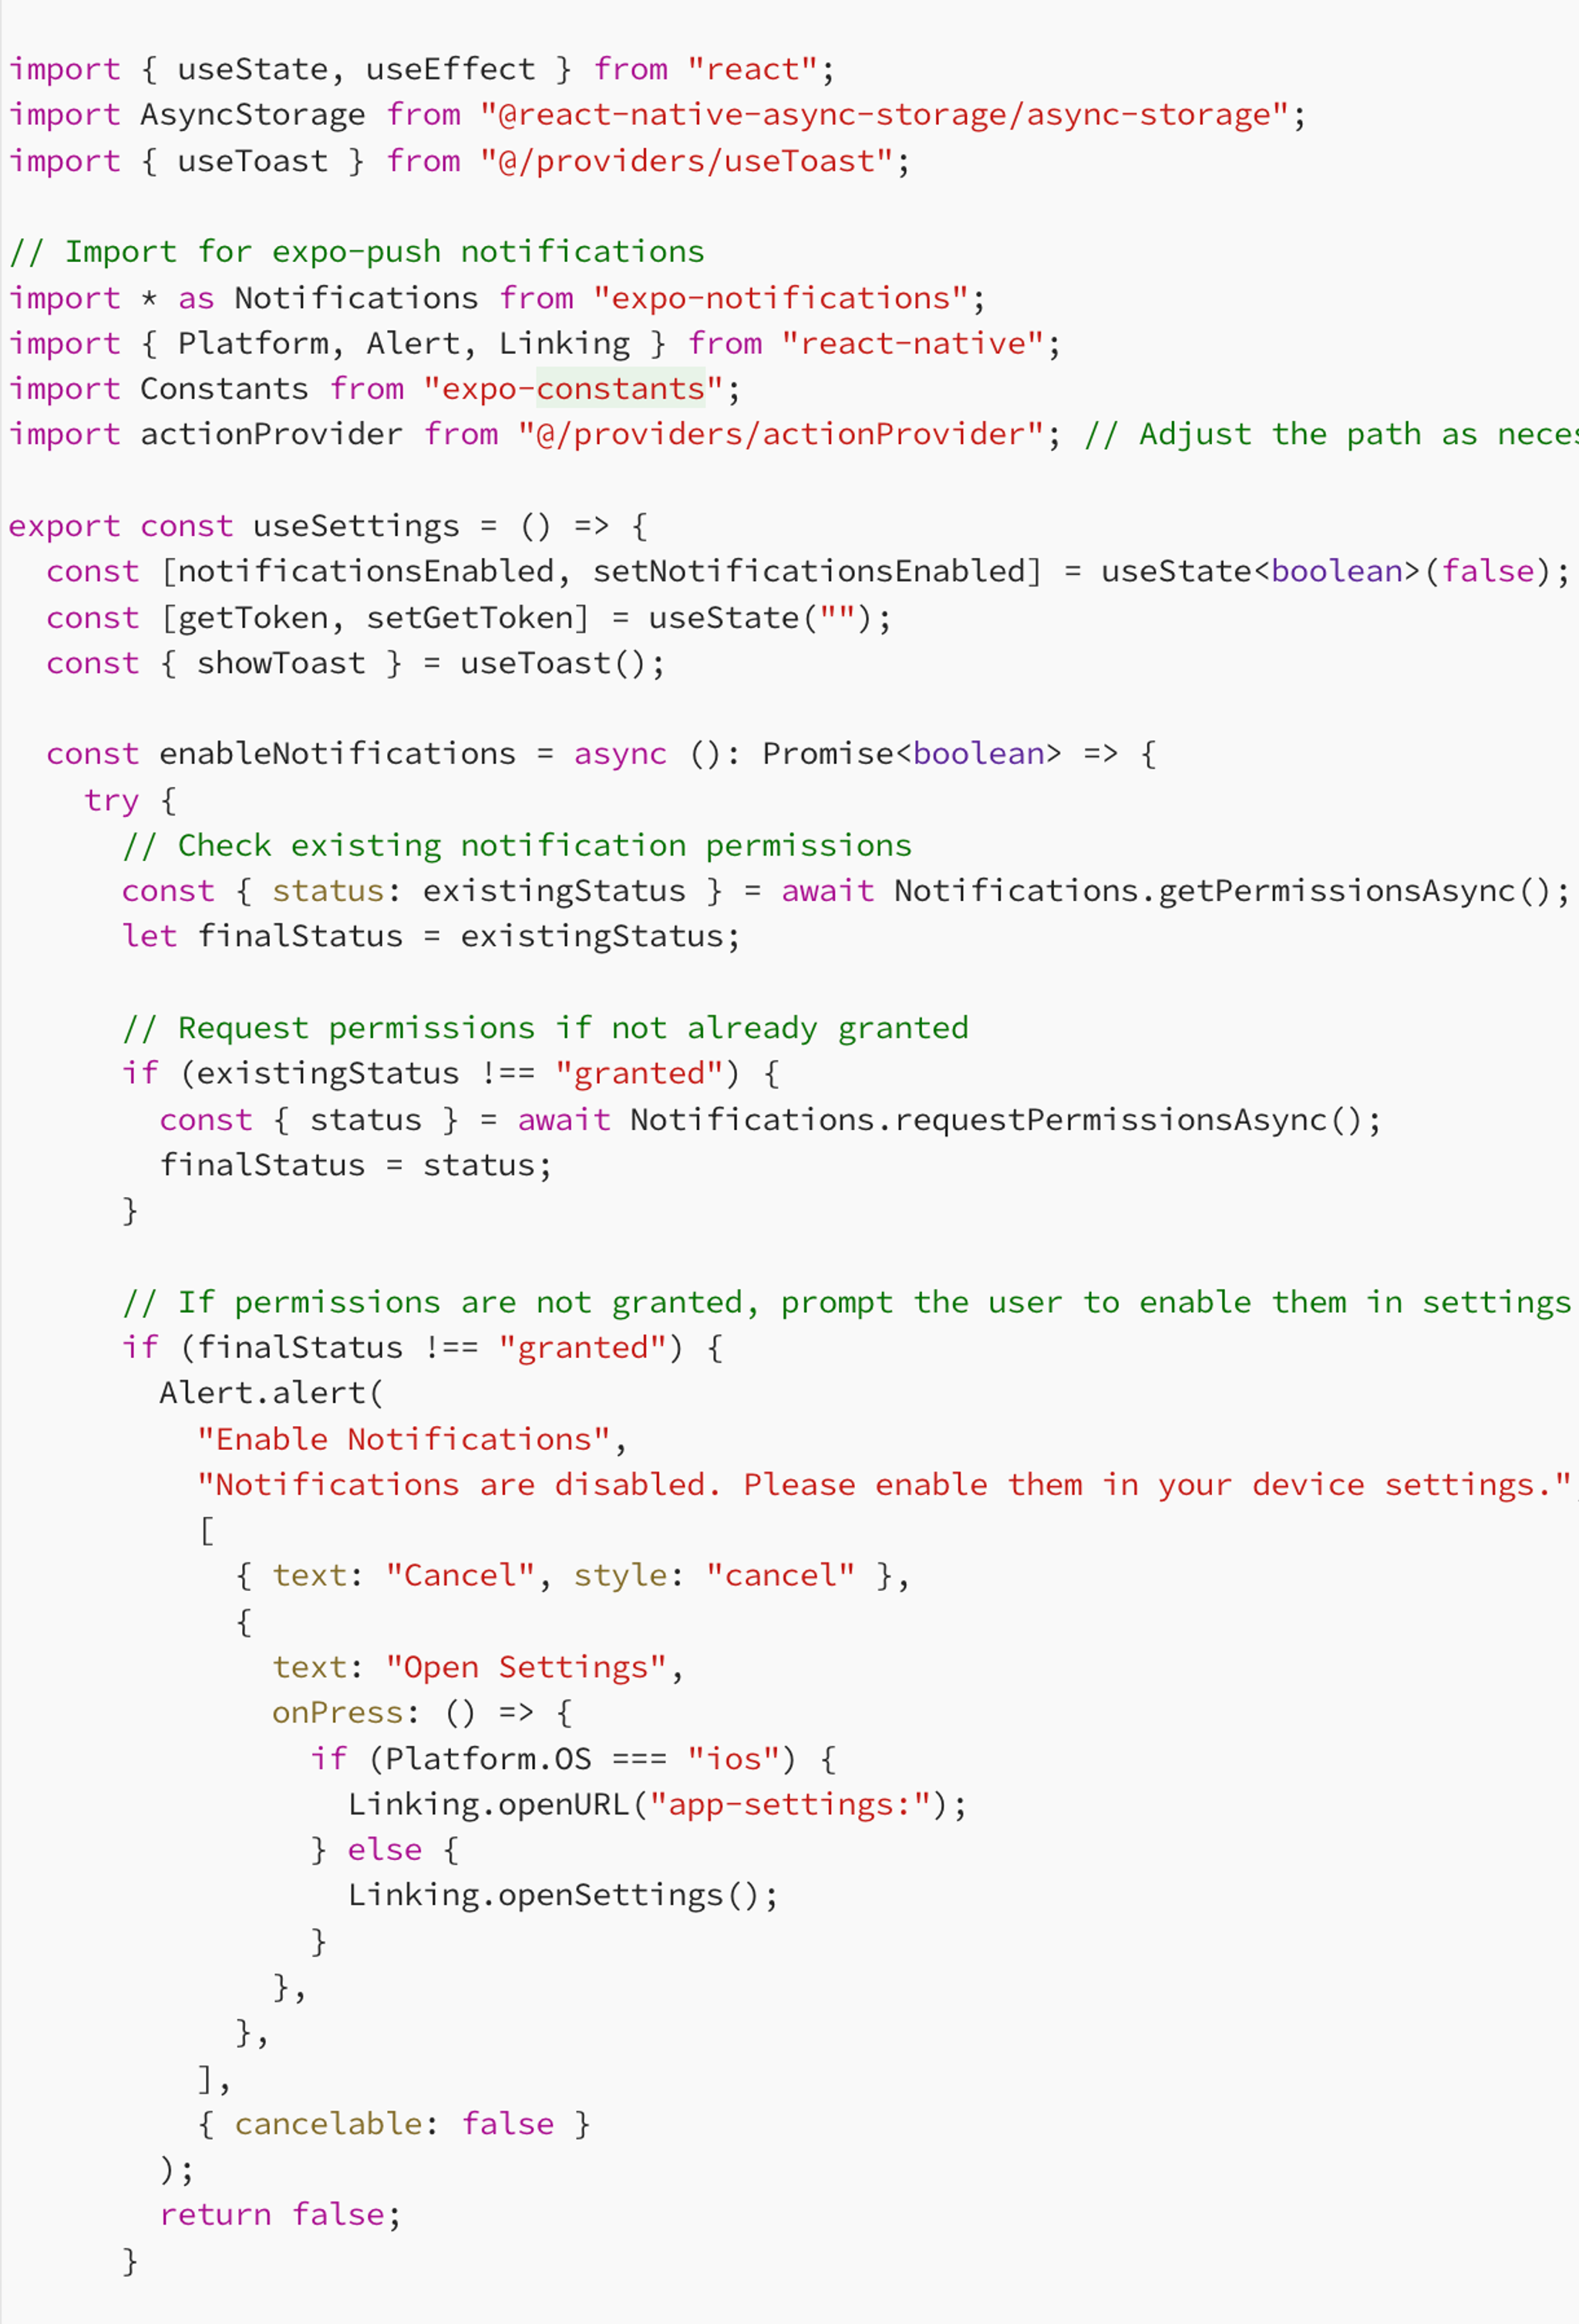
Below you’ll be able to find the complete useSettings hooks code which you can copy and paste into your file. We have additional code in there like showToast which is a global toast UI which we created as well as the getToken state which can be ignored since this state is just used for testing purposes.
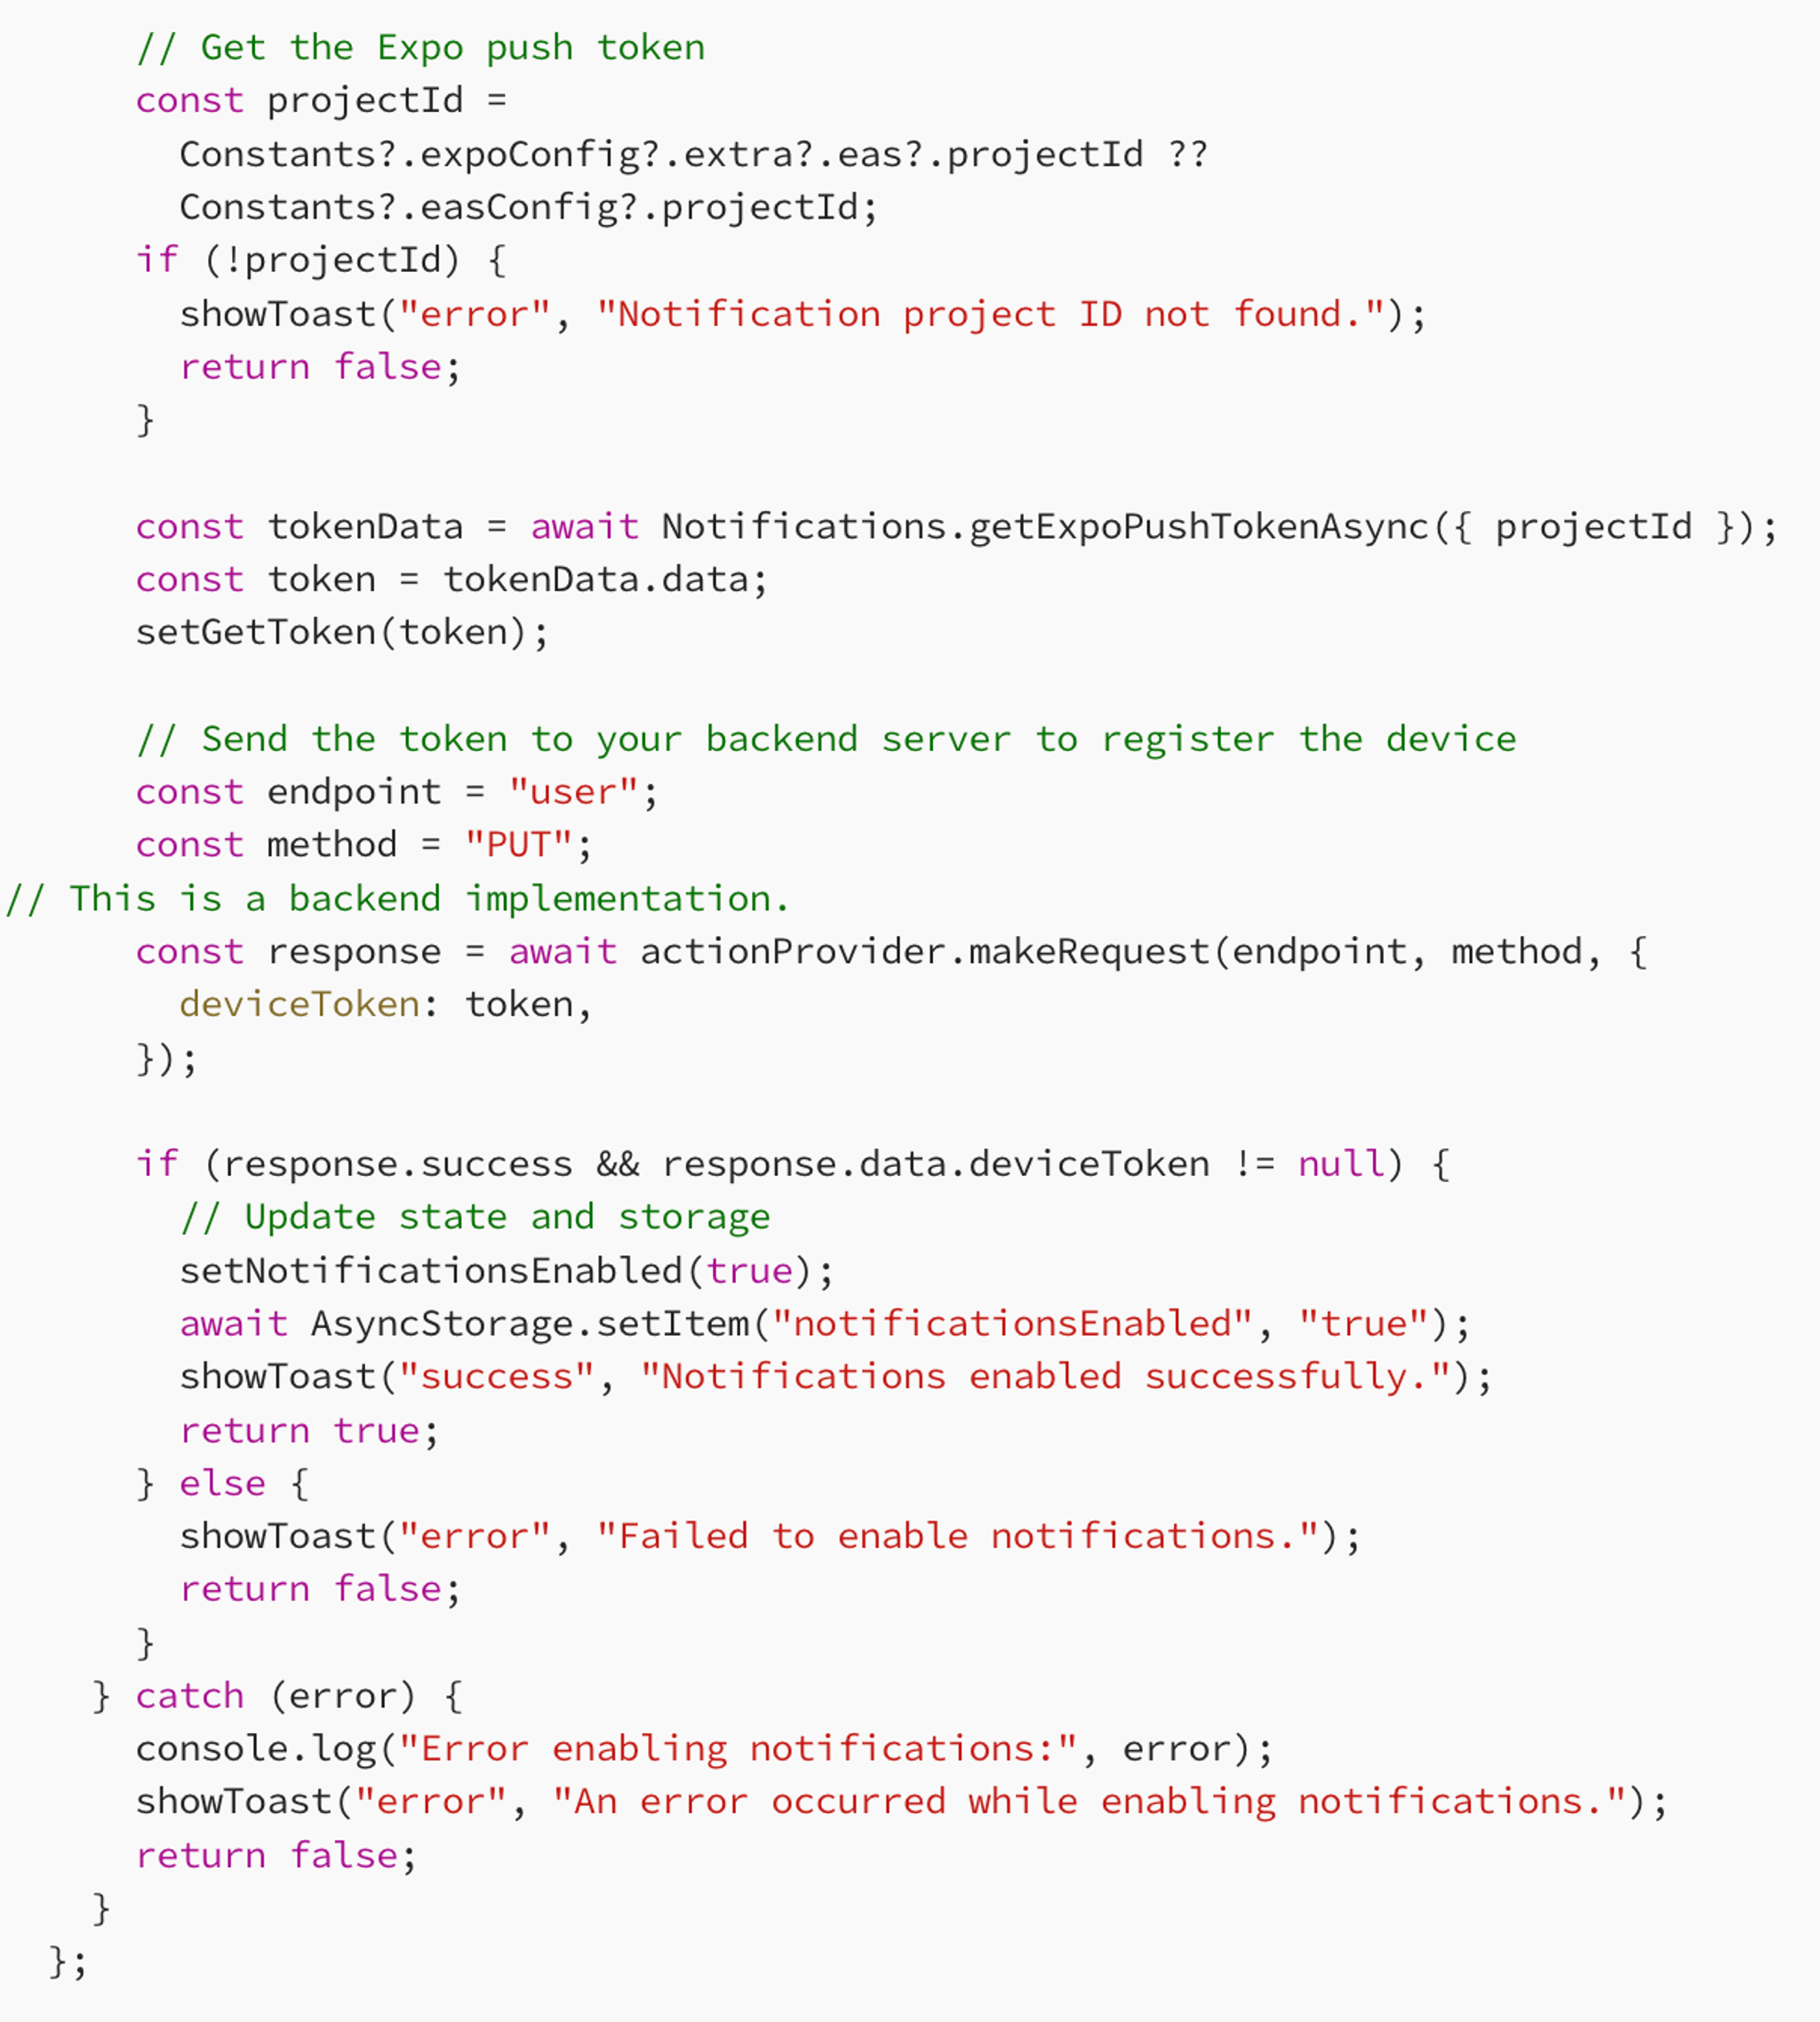
In our above code, you will find the following code line:

This is a call we make to our backend to update the users profile with the device token. The backend handles the sending of the notifications to the users device.
Enable notifications & explanation
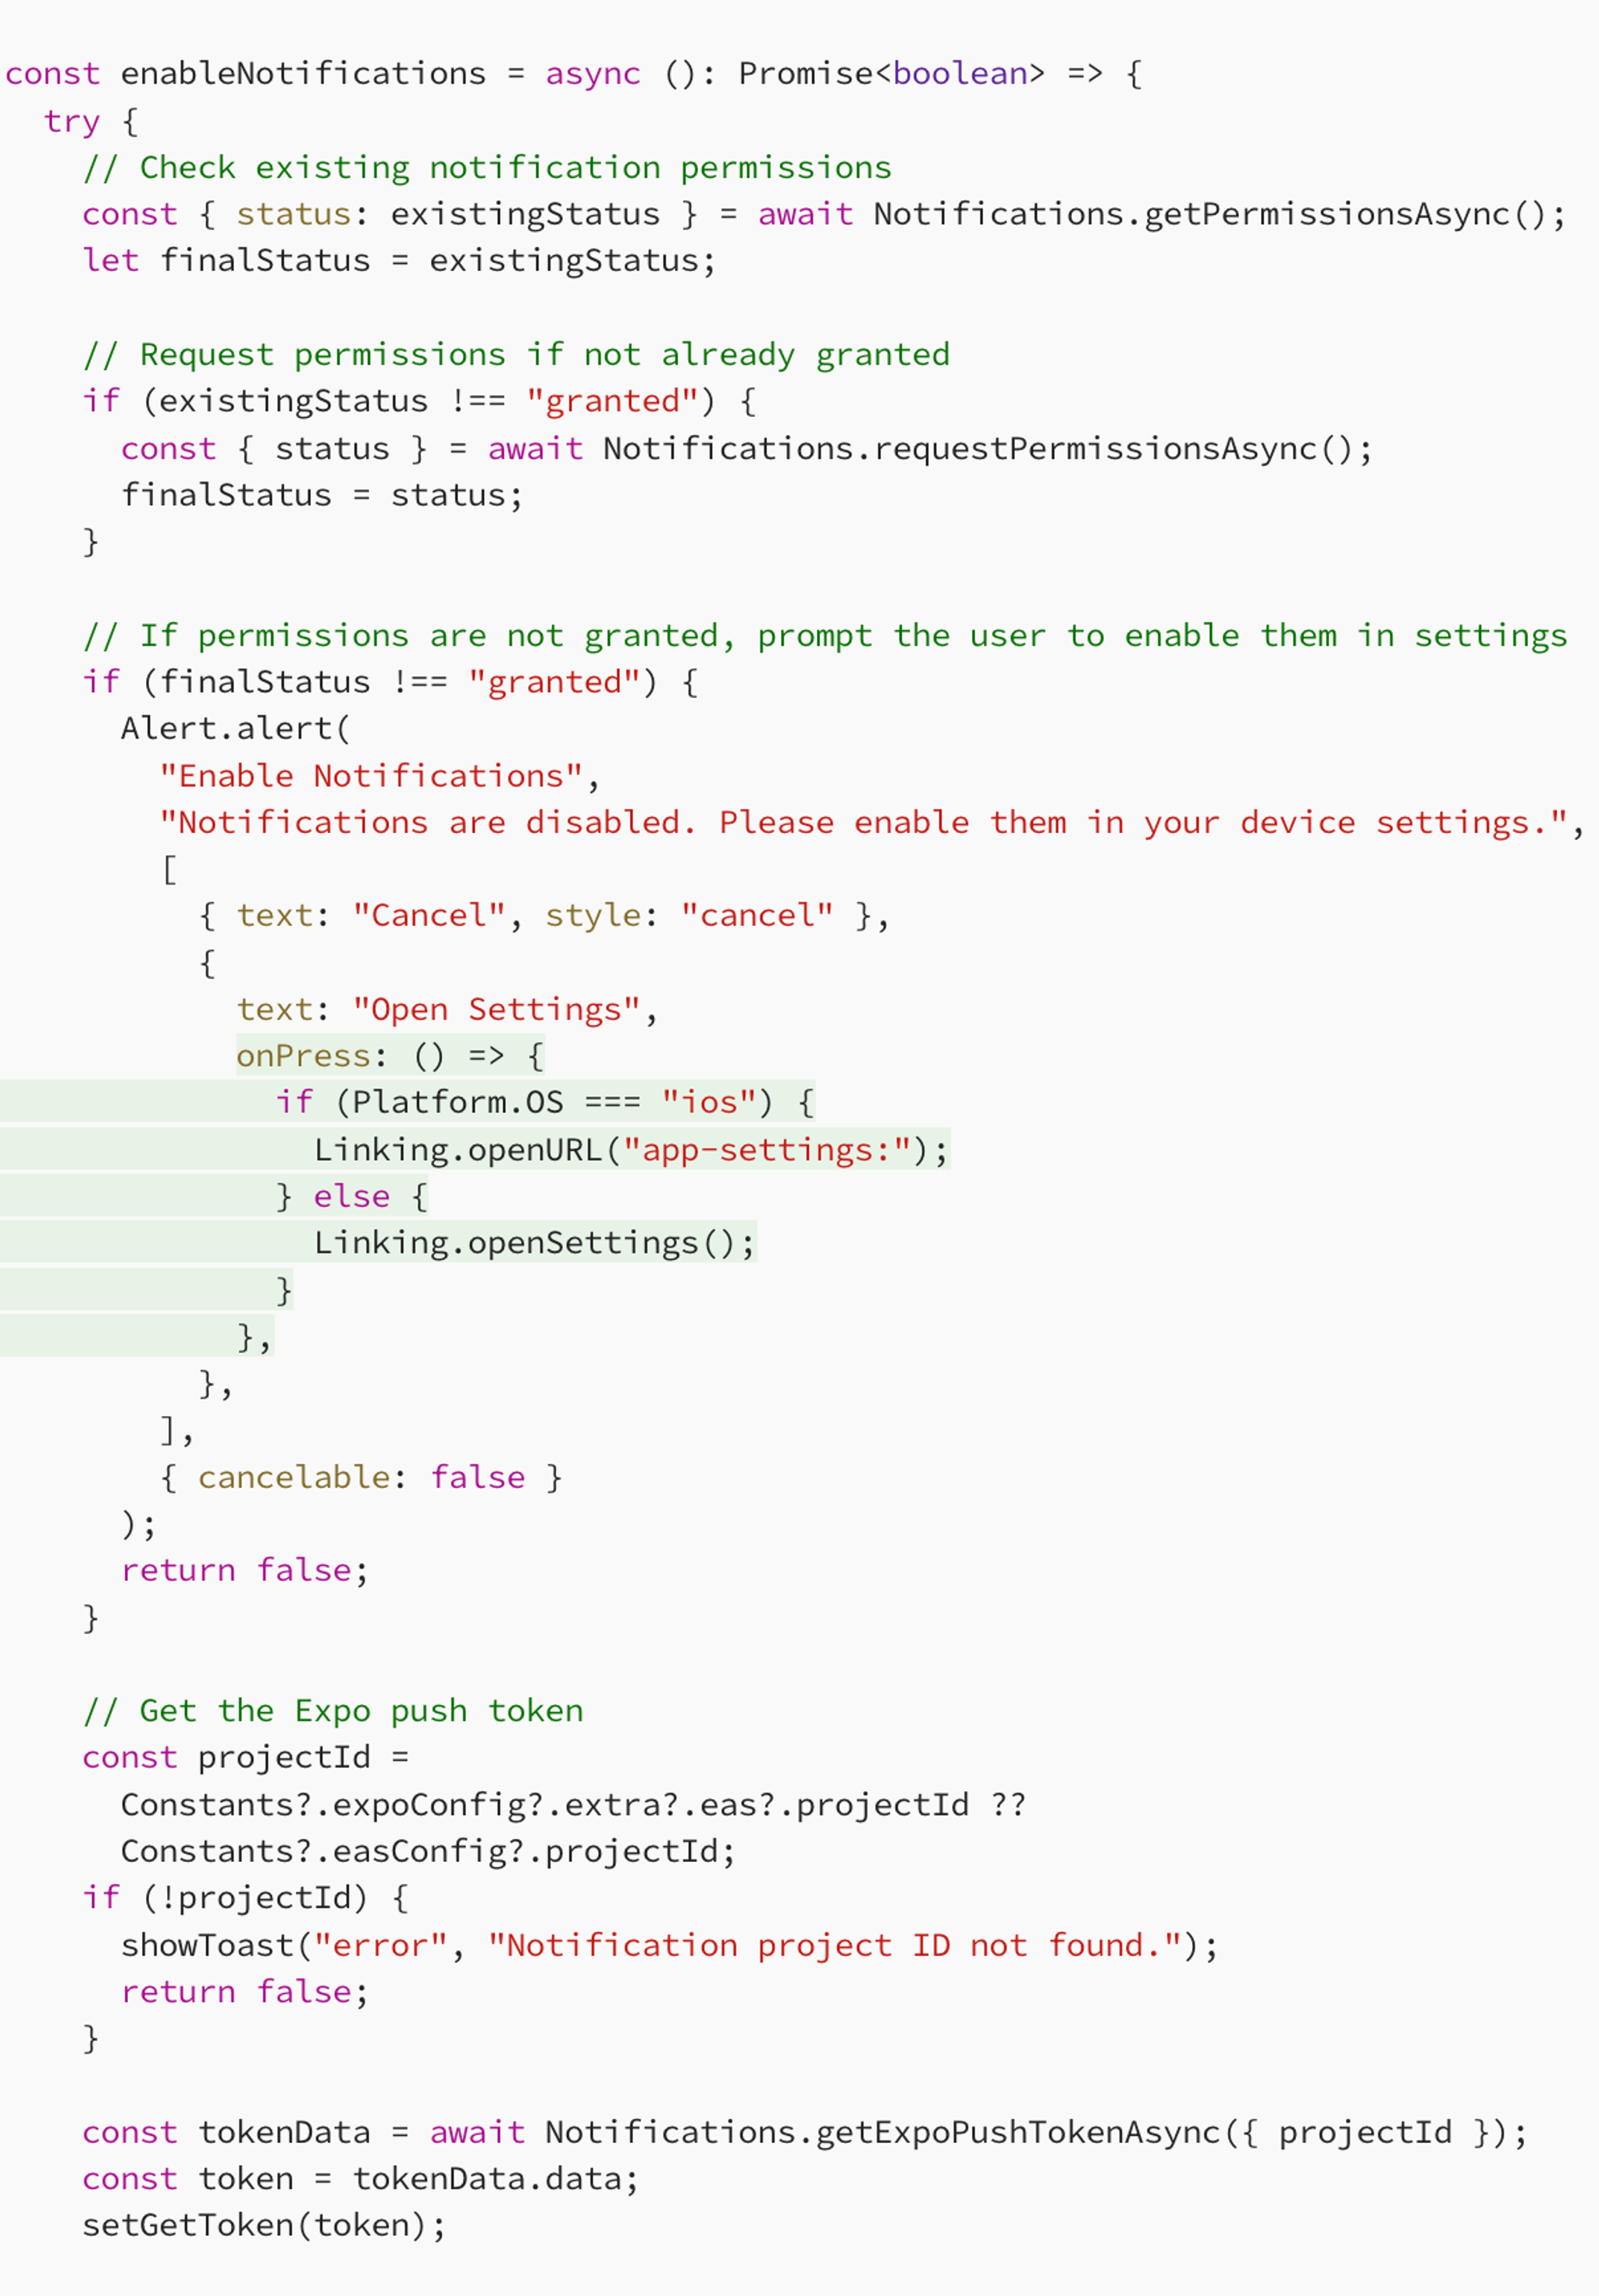
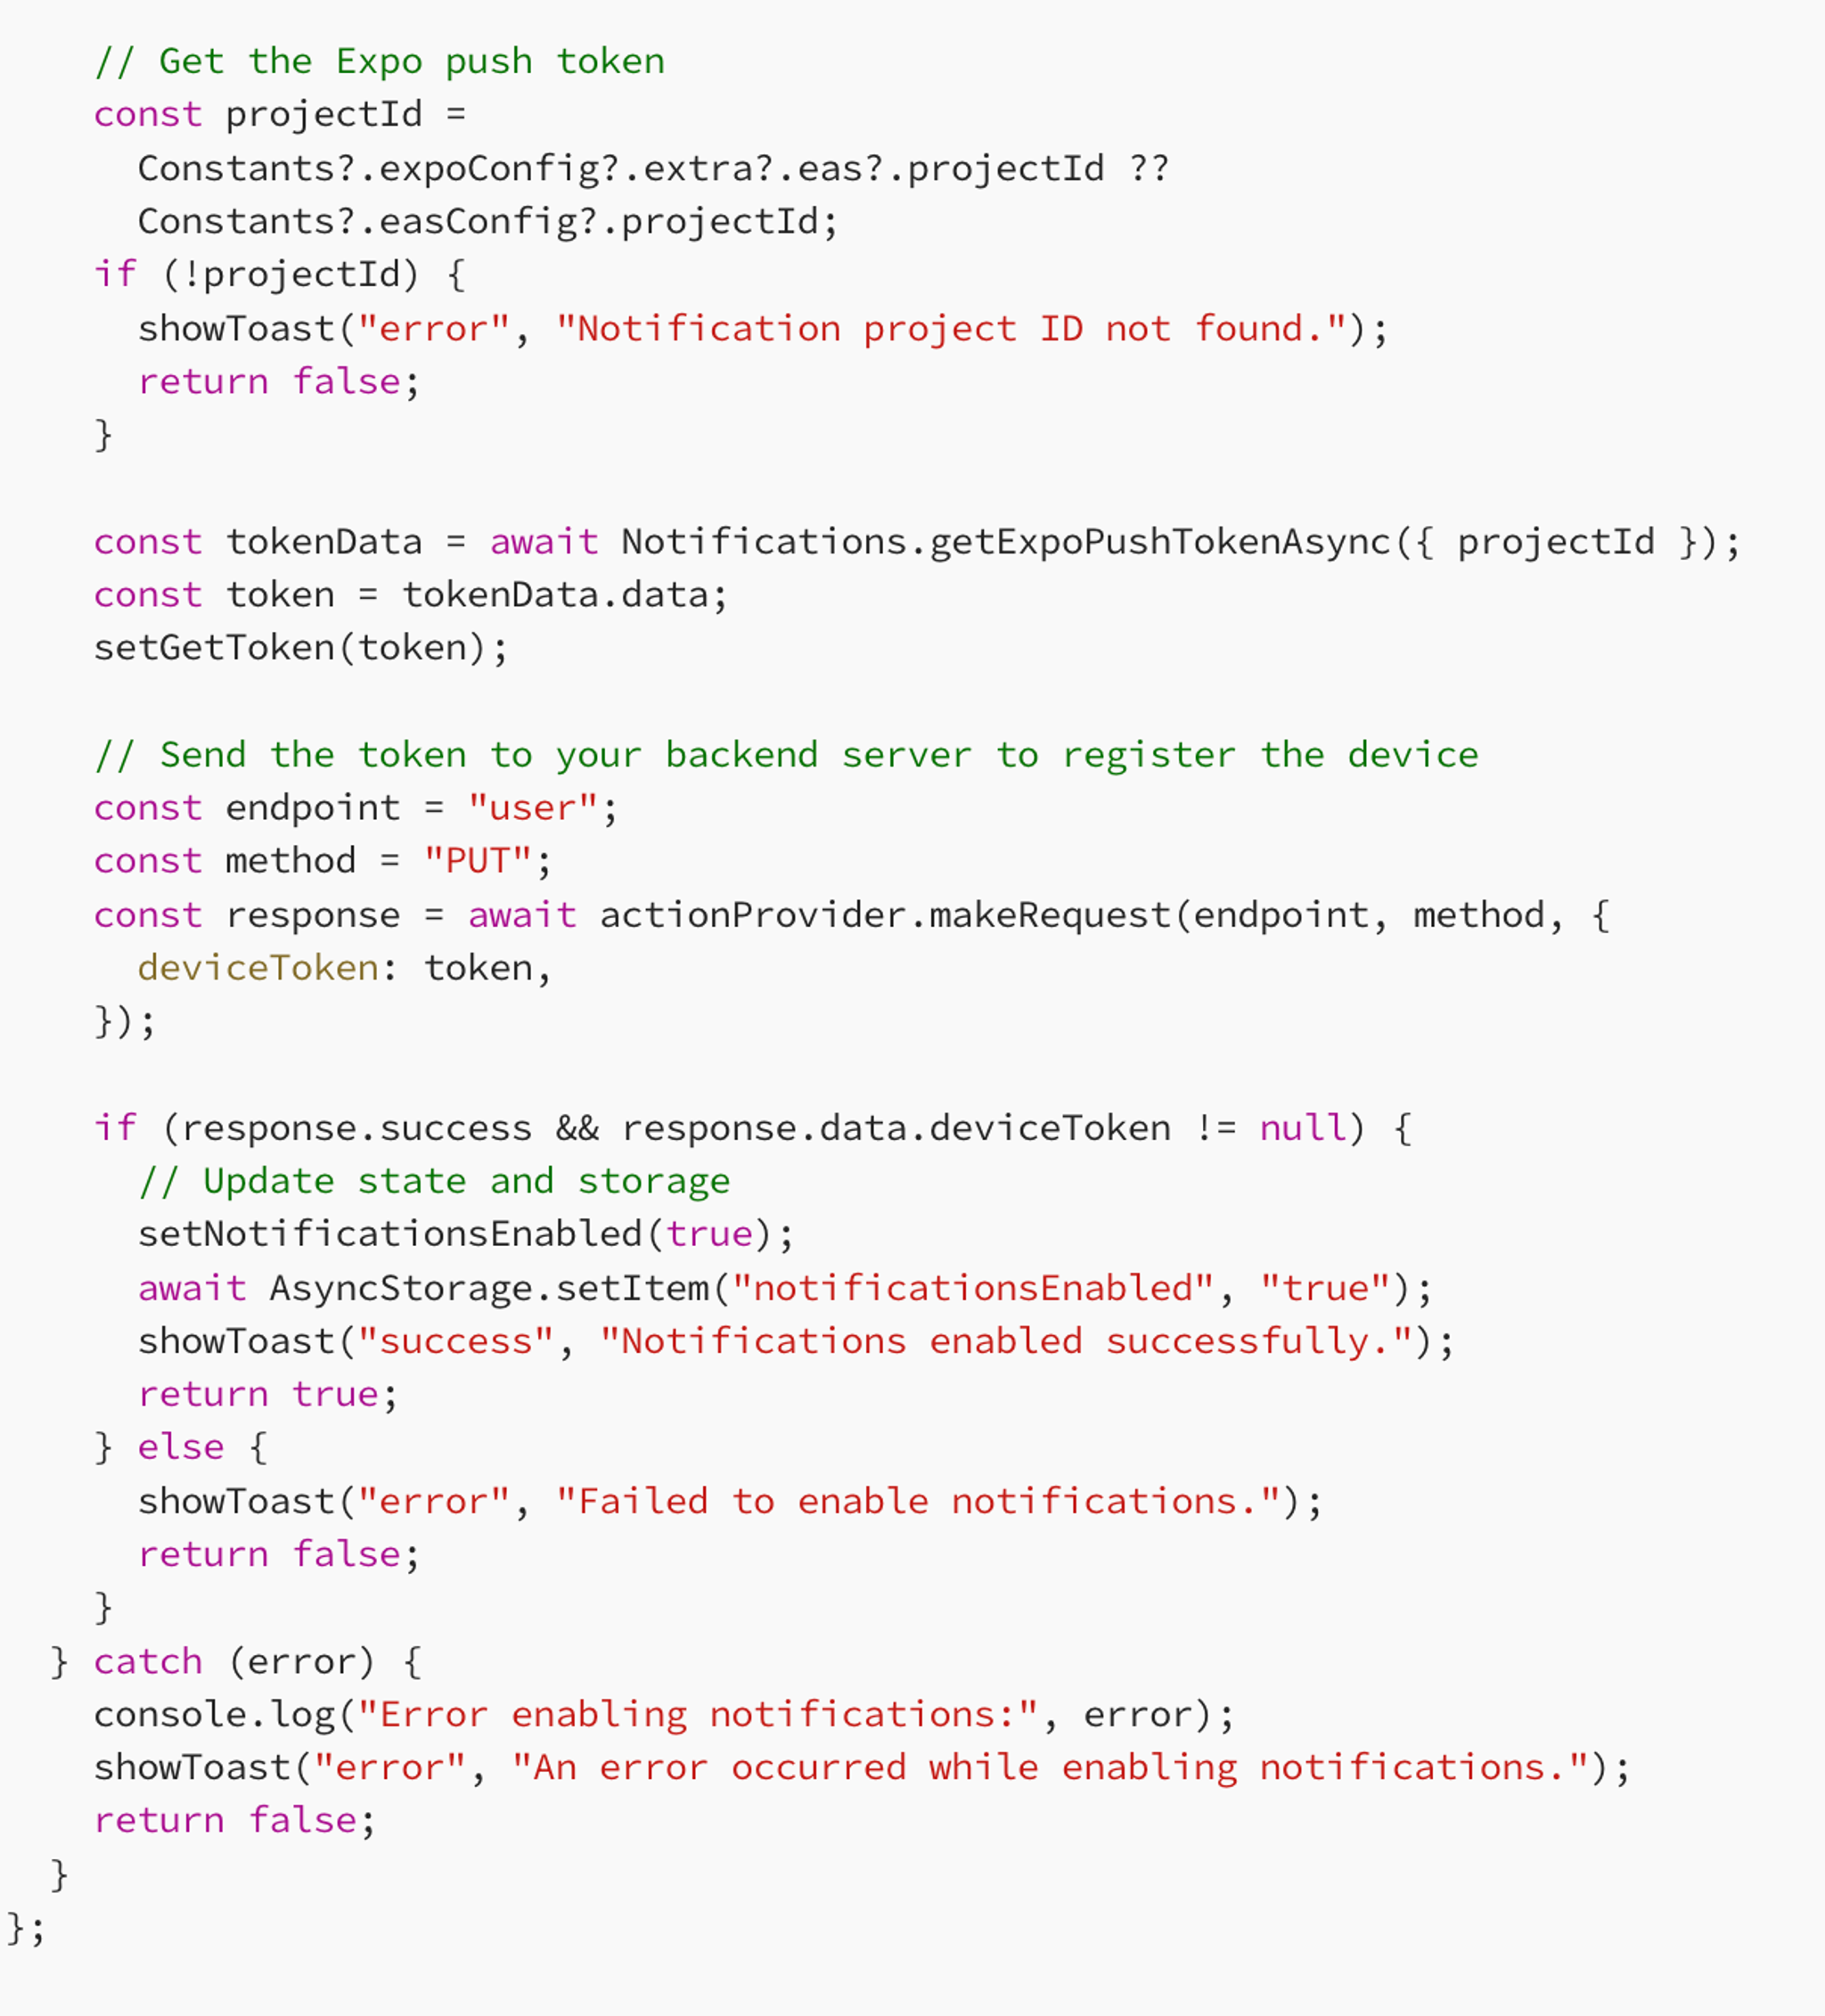
This asynchronous function enables push notifications for the app.
- Permission Handling: It first checks if the app already has permission to send notifications. If not, it requests permission from the user.

- User Prompt: If the user denies permission, it prompts them with an alert, offering to open the device settings so they can manually enable notifications.

- Push Token Retrieval: Once permissions are granted, it retrieves the Expo push token, which uniquely identifies the device.

- Backend Registration: The token is then sent to your backend server to register the device for receiving notifications.

- State Update: Updates the local state and stores the notification status in
AsyncStorage.

- User Feedback: Provides feedback to the user via toast messages indicating success or failure.

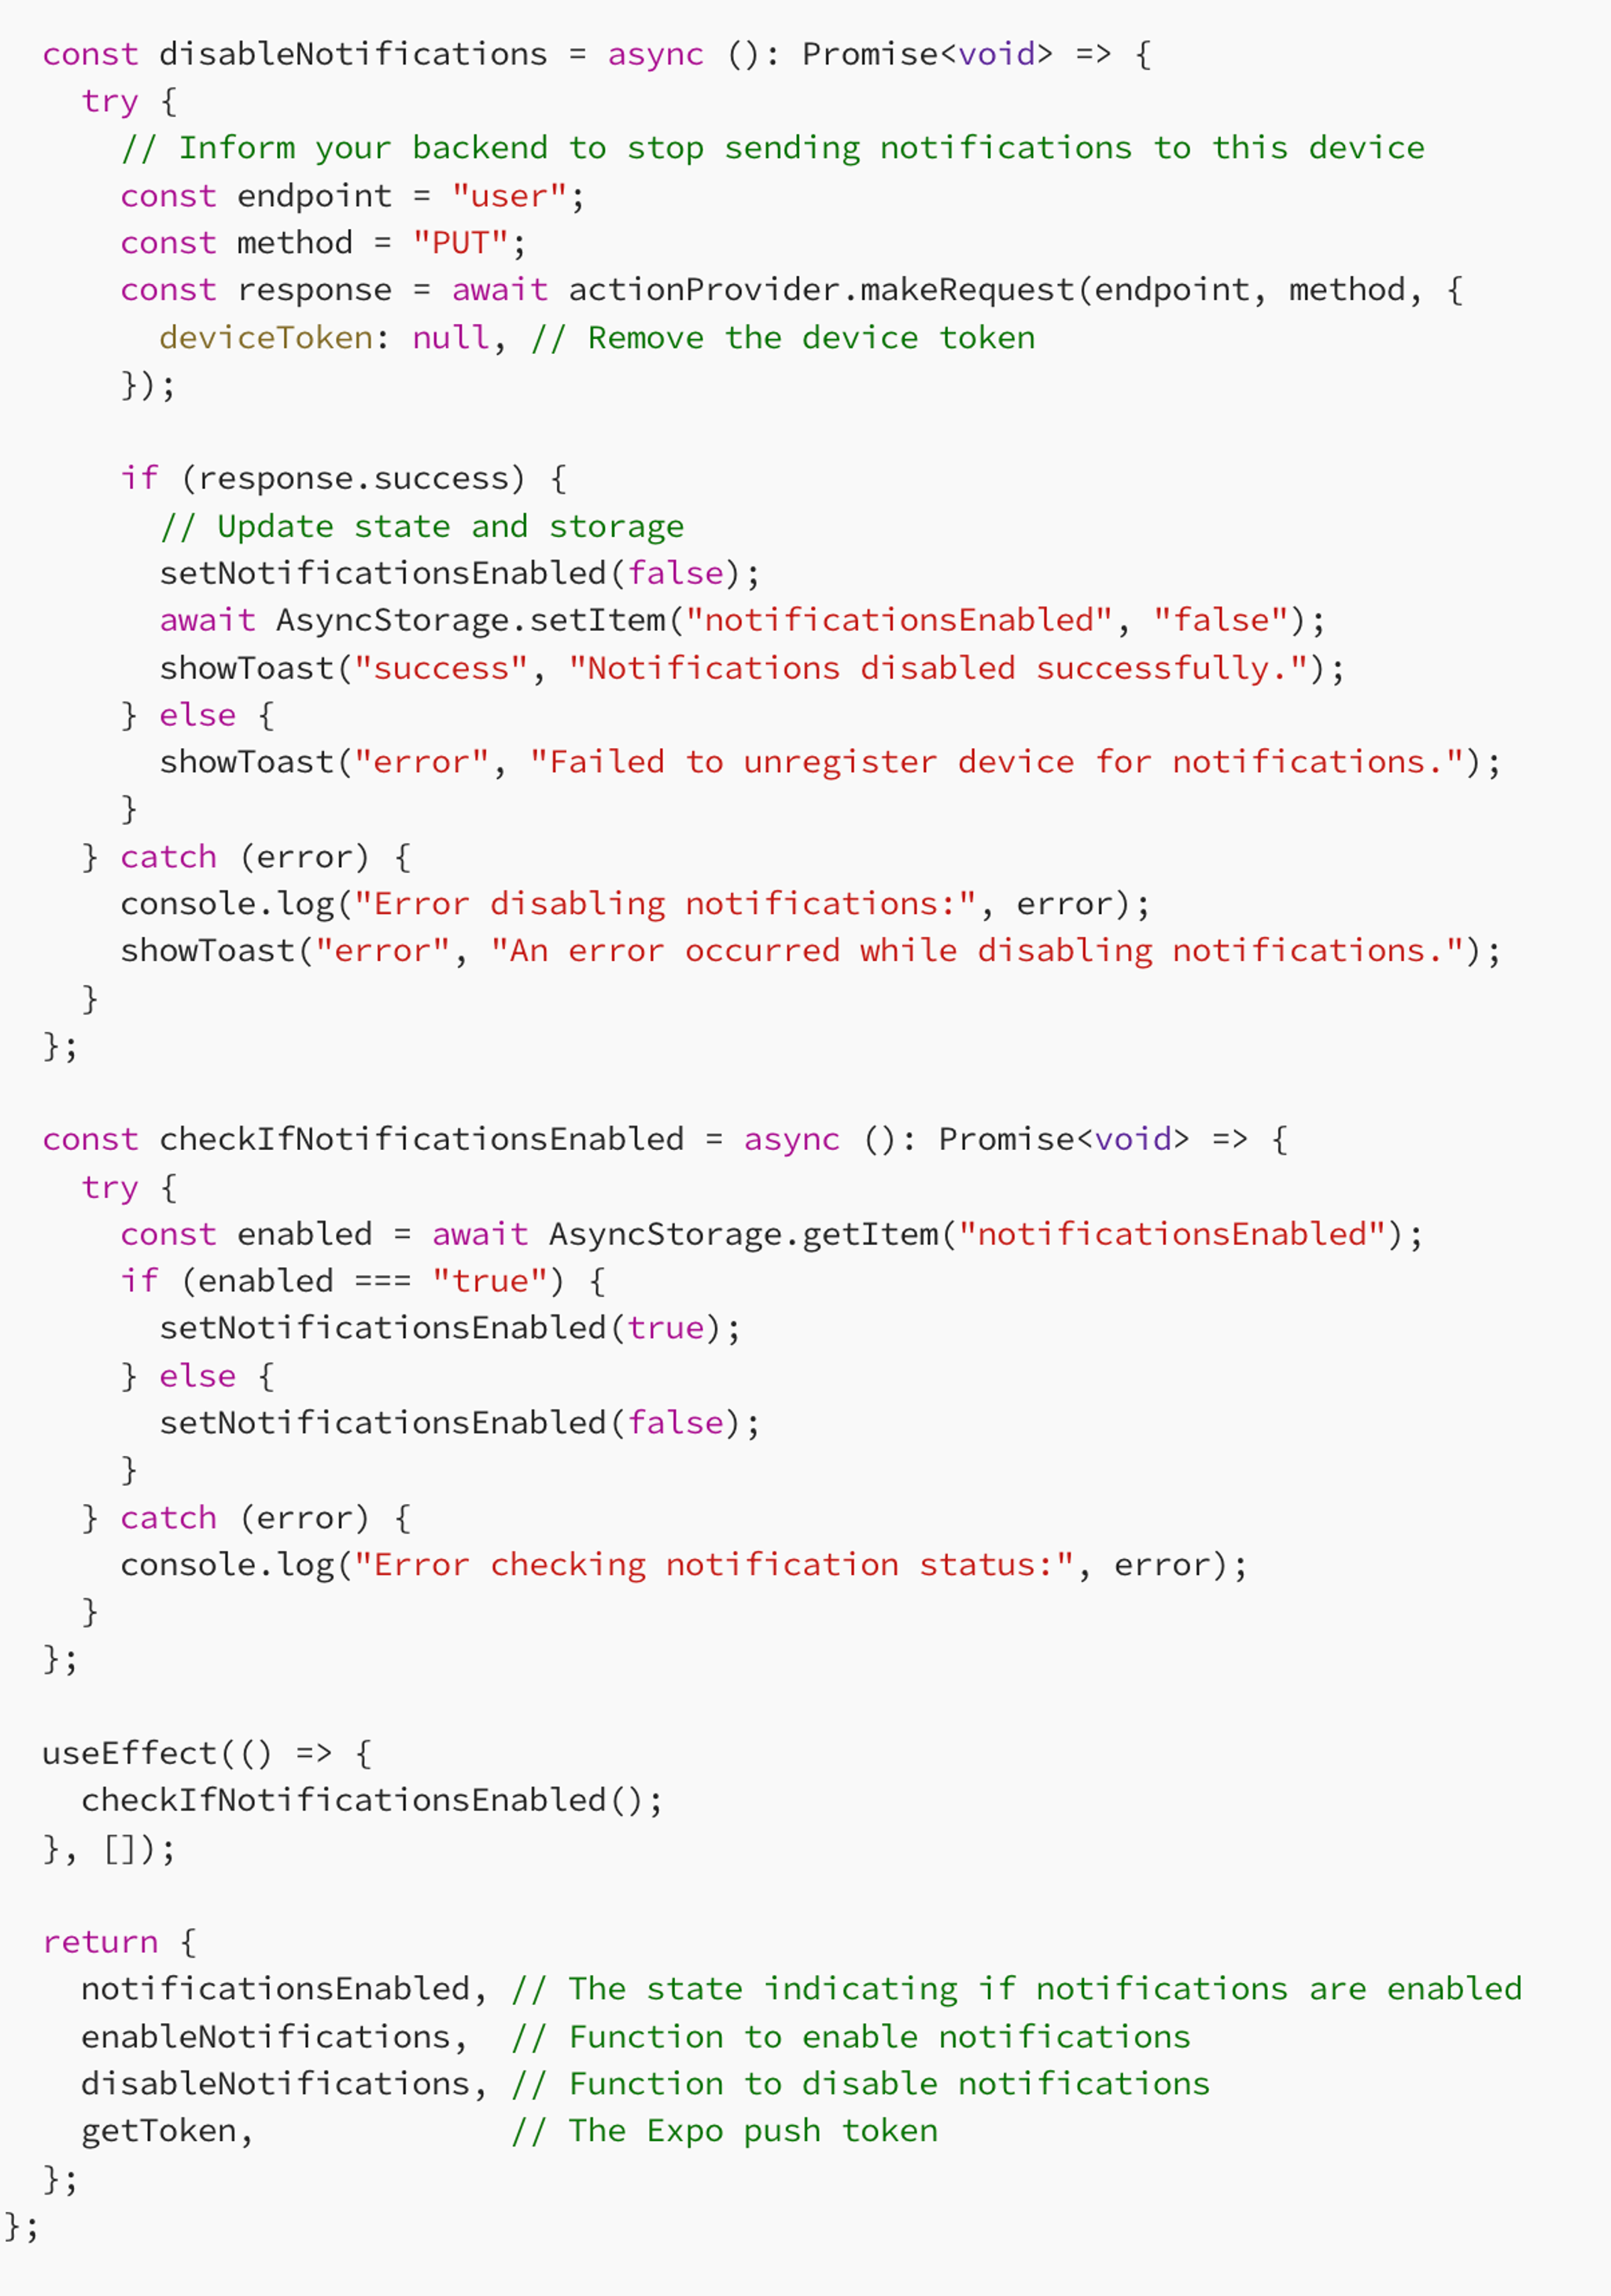
Disable notifications & explanation
This asynchronous function disables push notifications for the app.
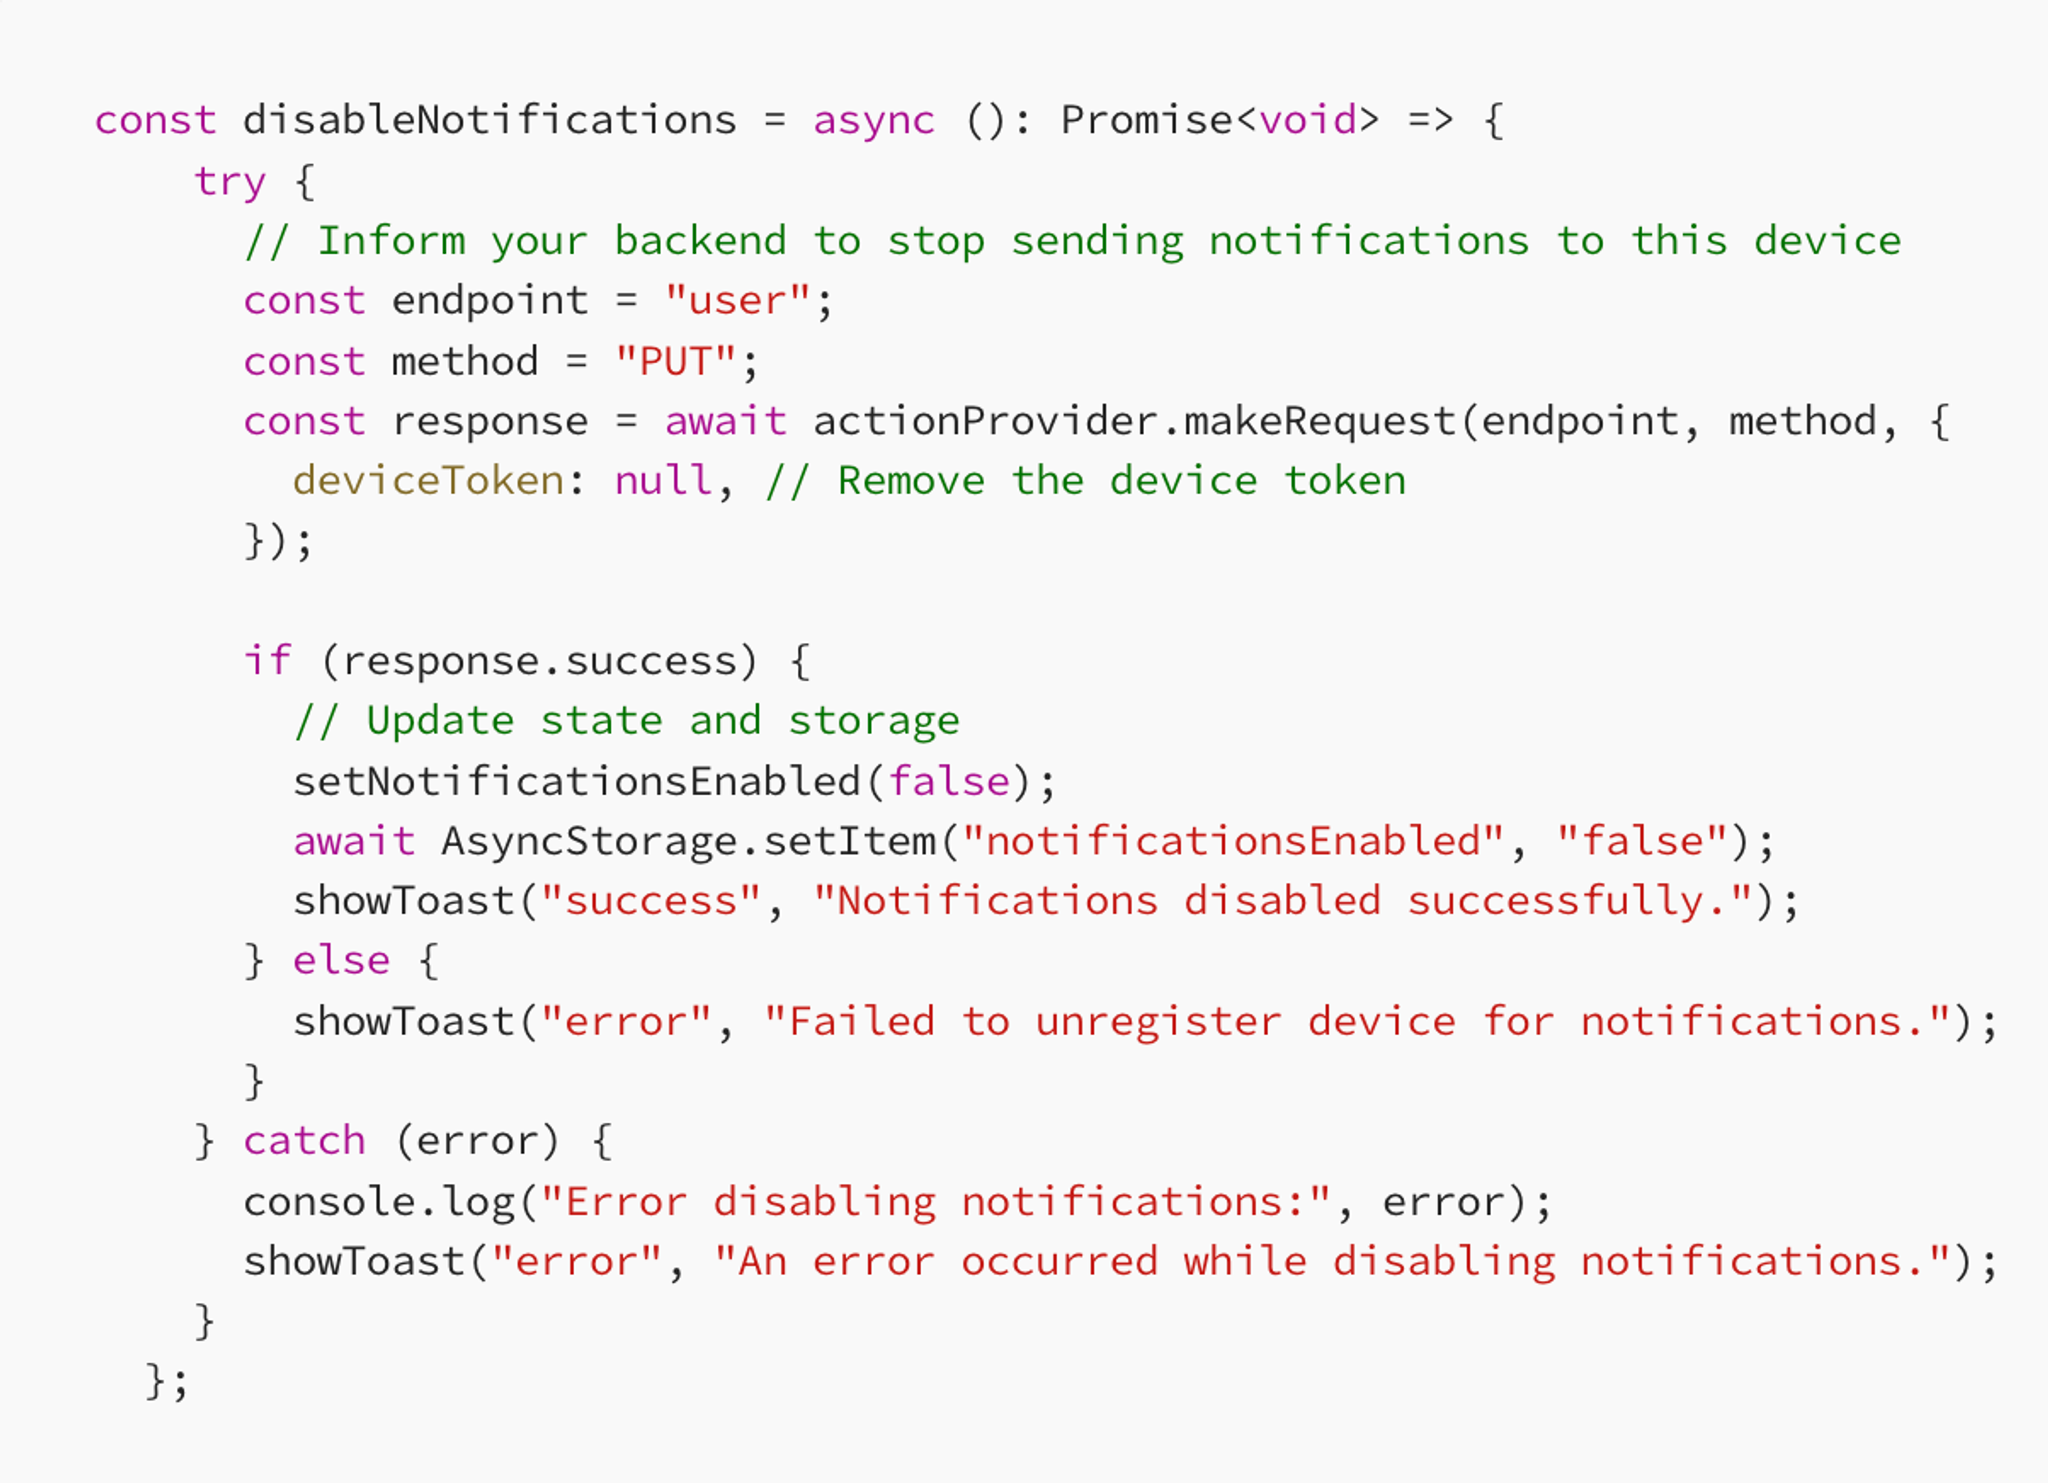
- Backend De-registration: It informs your backend server to stop sending notifications to this device by removing the device token.

- State Update: Updates the local state and stores the notification status in
AsyncStorage.

- User Feedback: Provides feedback to the user via toast messages indicating success or failure.

Check if notifications are enabled & explanation
This asynchronous function checks if notifications are enabled by retrieving the status from AsyncStorage.
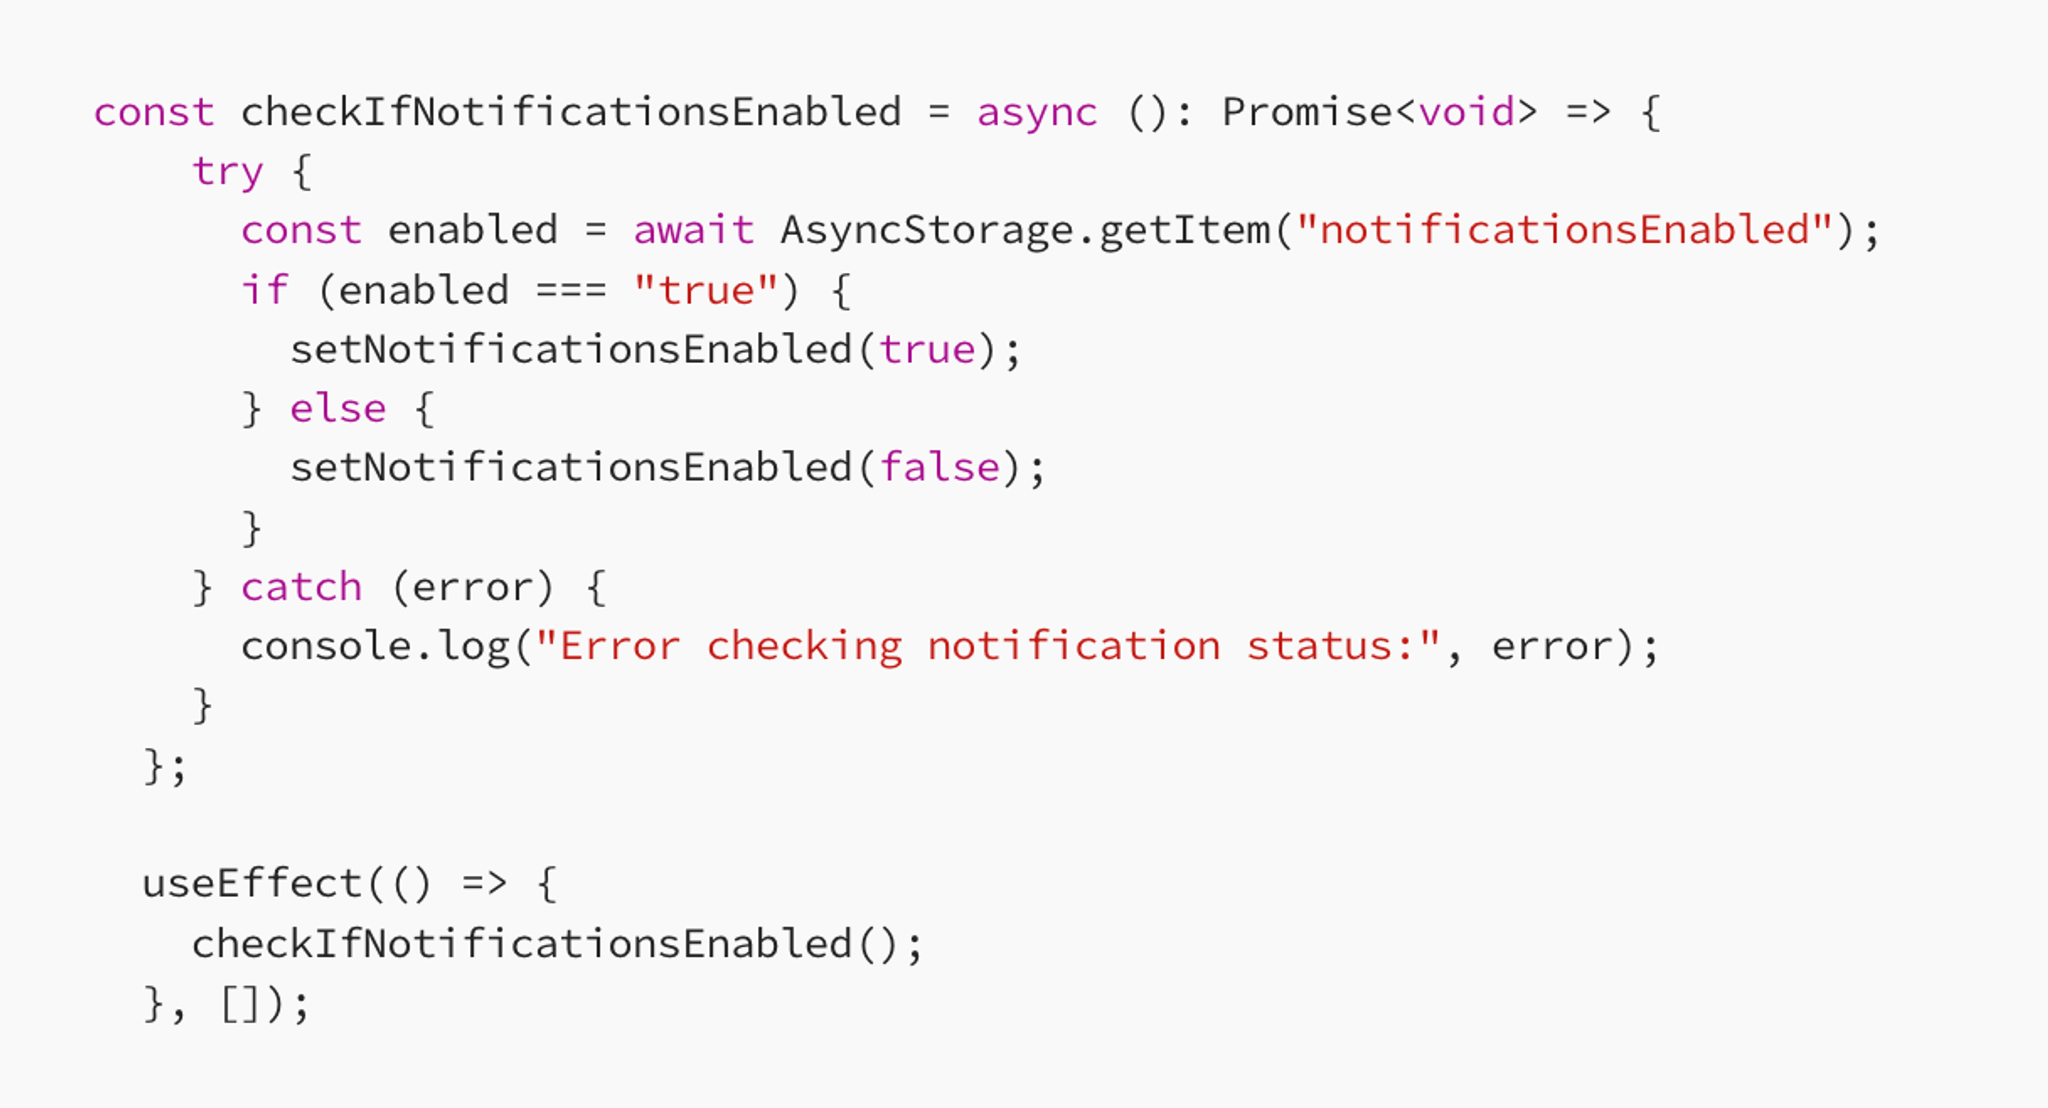
- State Retrieval: It gets the
notificationsEnabledvalue fromAsyncStorage, which was set when enabling or disabling notifications.

- State Update: Updates the local state based on the retrieved value.

- Usage in
useEffect: It's called within auseEffecthook to initialize the notification status when the component mounts.

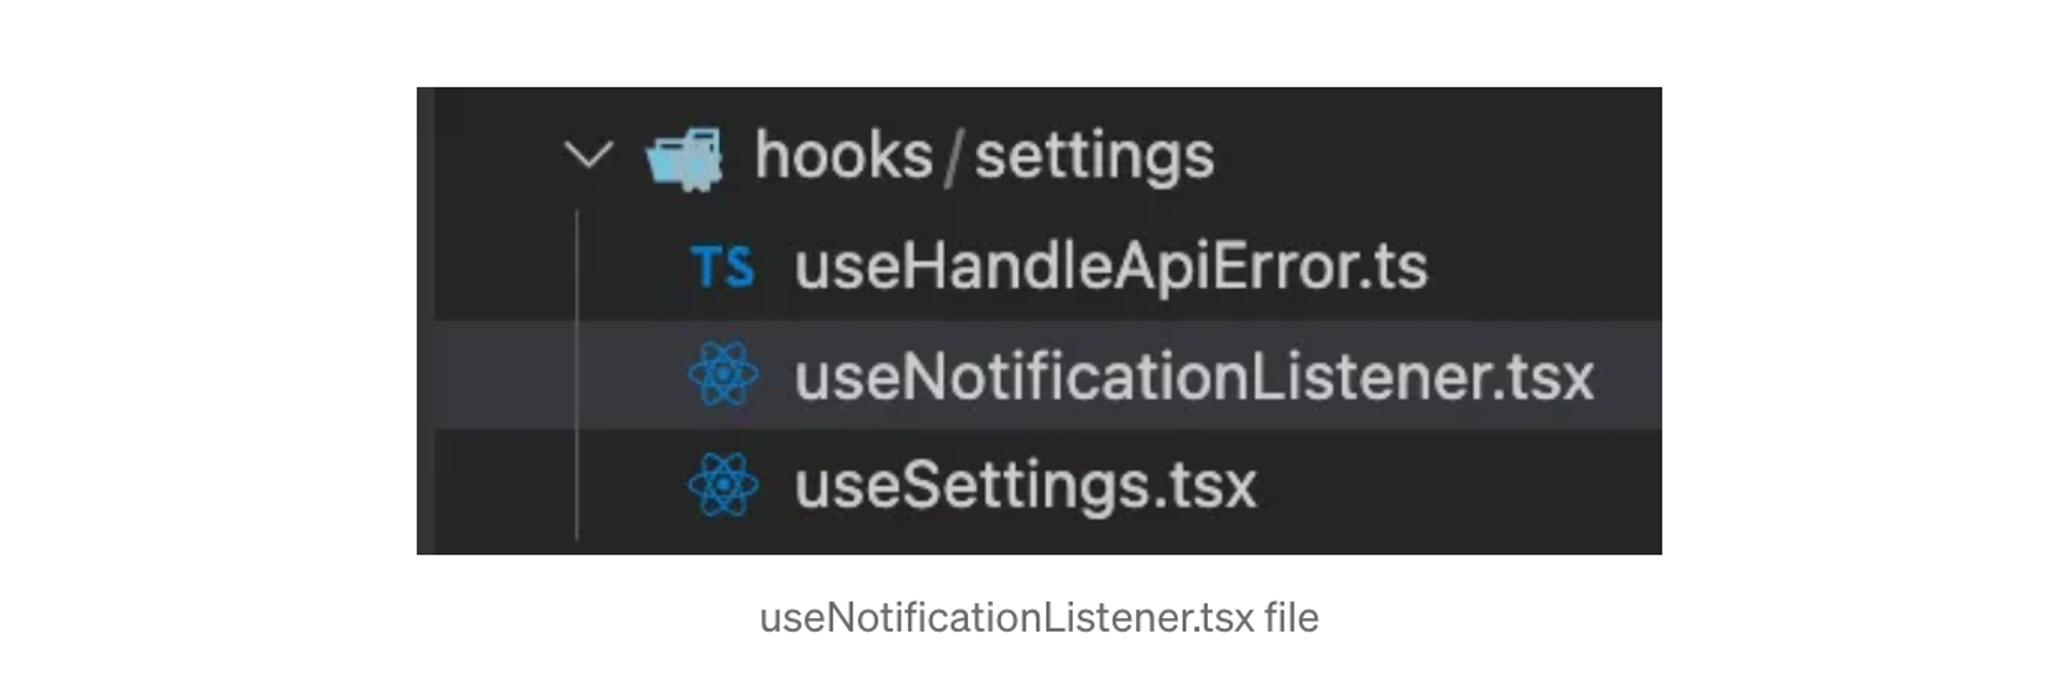
Notification Listener
We need to be able to listen to any notifications that are sent to the users device and show it on their device with a listener. Within your hooks/settings folder, create a useNotificationListener.tsx file.
Within the file, paste the following code so we are able to listen to any incoming notifications which are sent from our backend.
import { useEffect, useRef } from'react';
import * asNotificationsfrom'expo-notifications';

exportconstuseNotificationListeners = () => {
const notificationListener = useRef<any>();
const responseListener = useRef<any>();

useEffect(() => {
// Listener for foreground notifications
notificationListener.current = Notifications.addNotificationReceivedListener(notification => {
// Handle notification received while app is in the foreground
console.log('Notification Received:', notification);
// You can update state, show a custom UI, etc.
});

// Listener for user interaction with notifications (foreground, background, or killed)
responseListener.current = Notifications.addNotificationResponseReceivedListener(response => {
// Handle the user's interaction with the notification
console.log('Notification Response:', response);
// Navigate to a specific screen, perform actions, etc.
});

return() => {
// Clean up listeners when the component unmounts
if (notificationListener.current) {
Notifications.removeNotificationSubscription(notificationListener.current);
}
if (responseListener.current) {
Notifications.removeNotificationSubscription(responseListener.current);
}
};
}, []);
};
Lastly
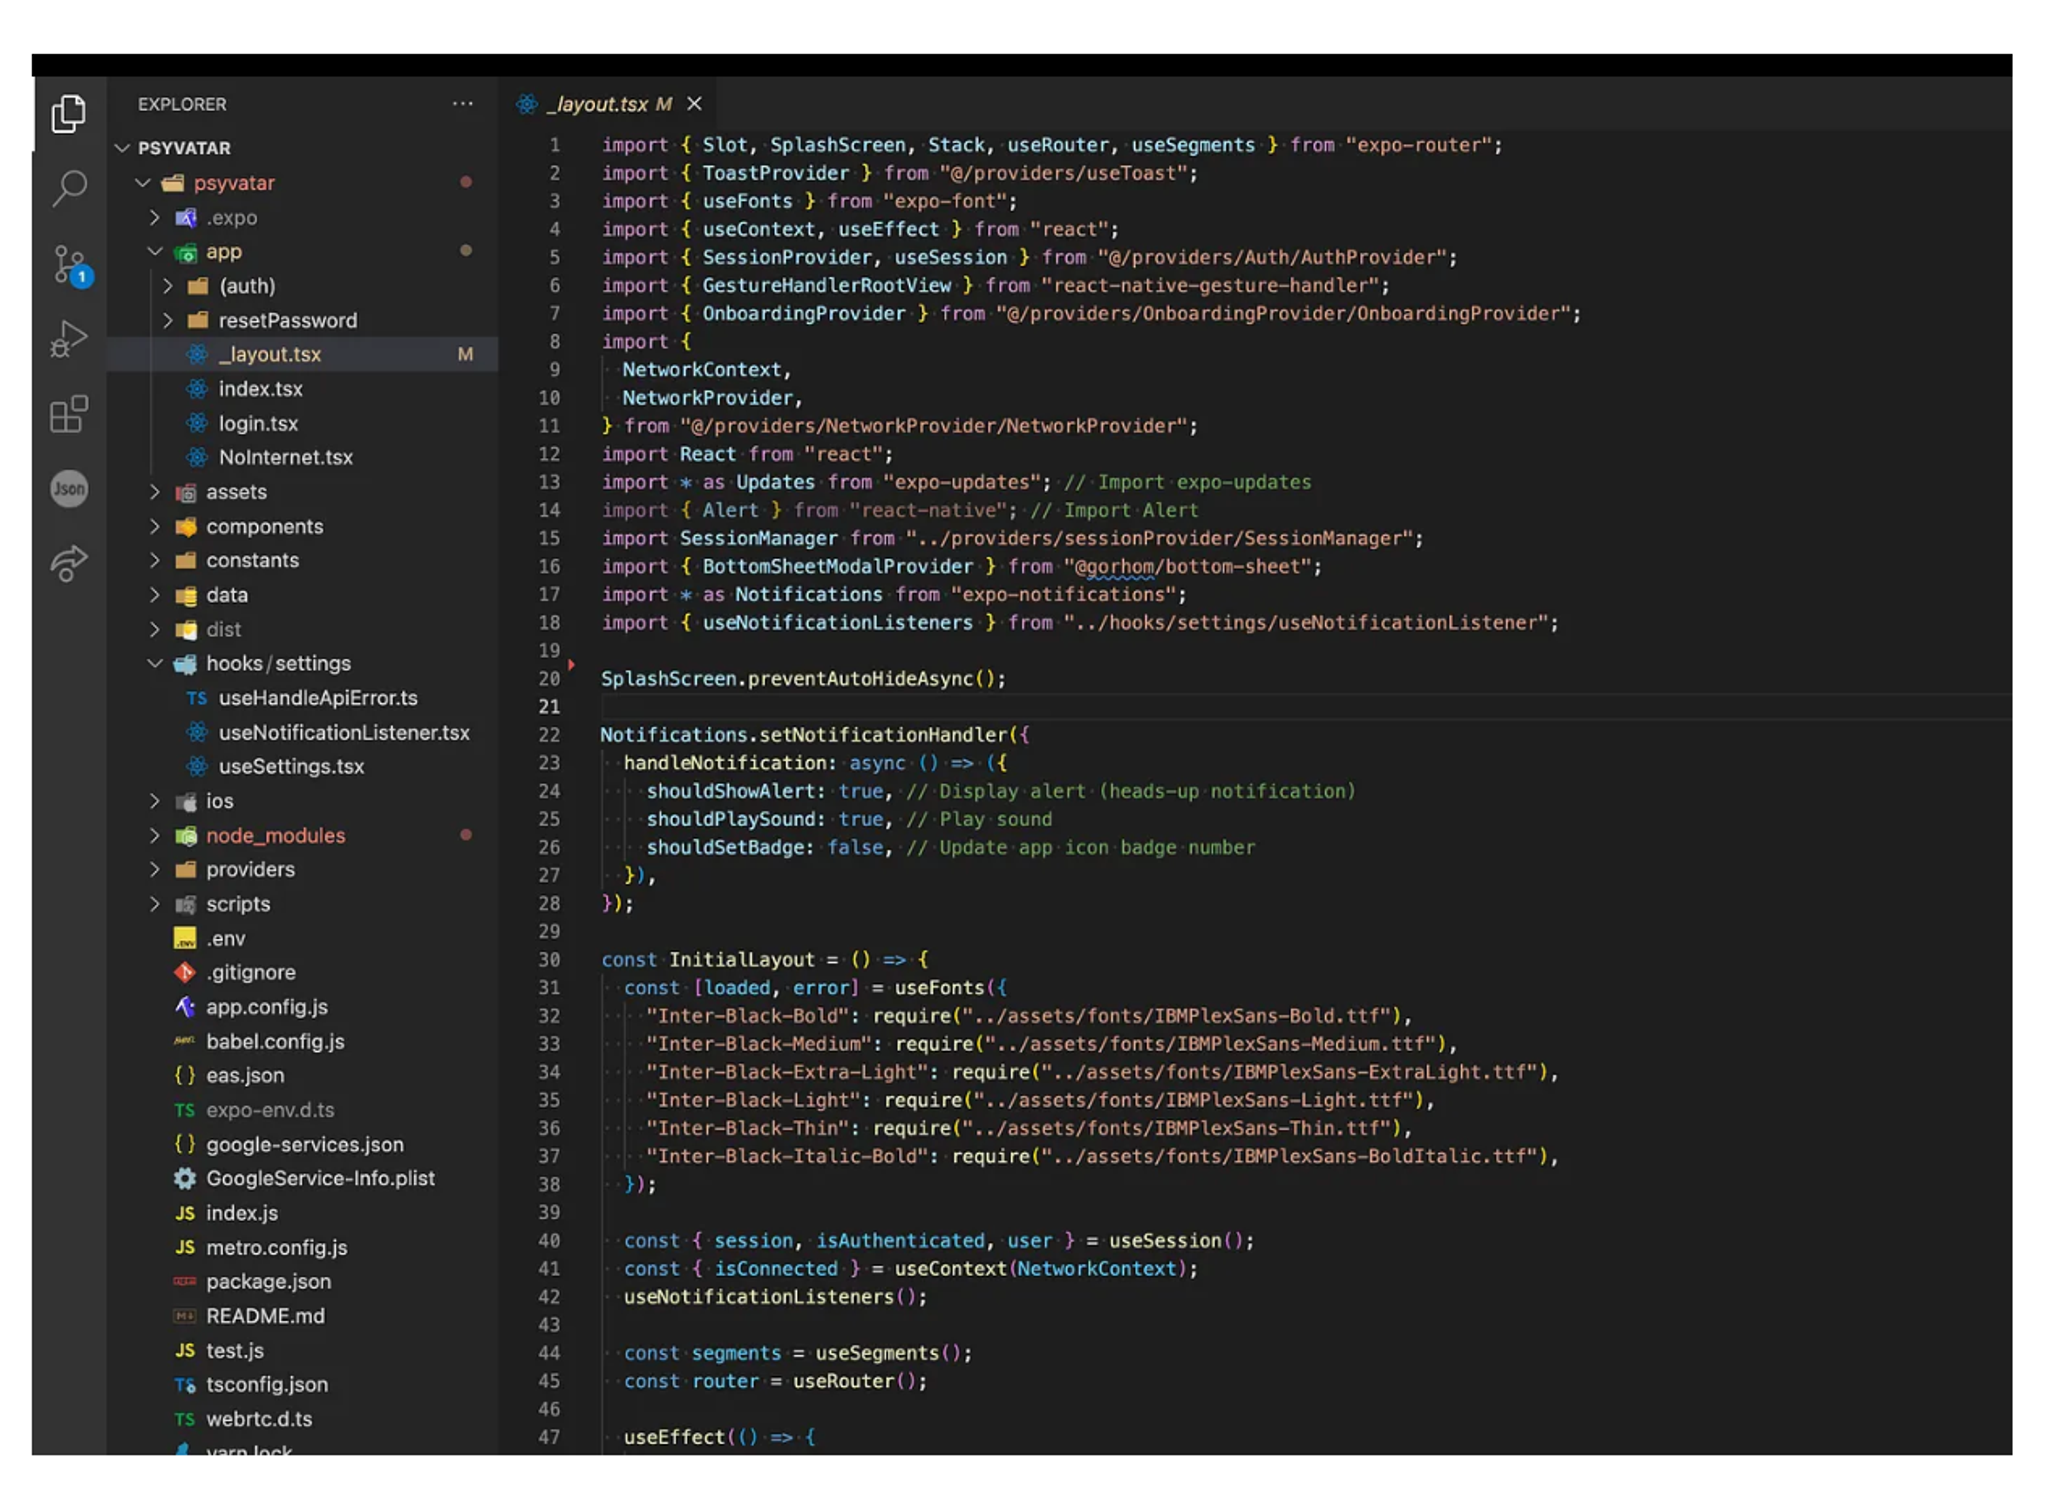
In our _layout.tsx file we import the listener on line 42 and we also add an additional code on line 22 which are some notifications settings which you can customise. We are using the latest expo SDK 51 which has a complete different folder structure. Routes are now placed inside the _layout.tsx file and the app is rendered from this file which is why we place the listener in this file.
Conclusion
Integrating push notifications into your React Native application is a powerful way to enhance user engagement and keep your audience informed about important updates. Implementing push notifications is just the beginning. Continuously iterate and improve upon your notification system to keep your users engaged and satisfied with your app. Reach out to DETL at hello@detl.ca for any questions about this implementation. Happy coding!